
Distributed File System (DFS) is a bundle of Microsoft services and technology existing on the client and server that allow for the consolidation of files across multiple physical File Servers into a single logical namespace called the DFS root.
This logical namespace presents a "Single Pane of Glass" abstraction to the end users providing administrators with the ability to hide the details of which physical servers are serving the files as well as the structural location of where the files are actually residing. The two main advantages presented by managing shares in this manner are an increase in storage capacity and an improvement in data resiliency.
We won't spend much time speaking about growing storage capacity with DFS as while the total storage space available will increase if no replication is in effect (since the total free space will now be the sum of the space available in all shares on each member) such a configuration does not have any advantages (it is like creating a RAID0 stripe except that instead of concatenating LUNs we are combining shares) over simply using a Storage Area Network (SAN) to present larger disks otherwise known as Logical Unit Numbers (LUN)s to the server and managing the space from a Volume Manager. The only gain here is the unification of the namespace across two file systems.
Instead our focus will be on the benefits brought about when using DFS with replication. With replication in effect using a DFS setup facilitates ease of administration and reduction in downtime for end users. As files are now being duplicated any outage on a single node will no longer cause the file share to go offline. Due to the abstraction provided by the DFS root the individual users will not have to remember the name of the secondary file share to access their files instead their client by querying the Active Directory (AD) will automatically reroute them to the new location of the remaining members hosting the files. Ofcourse, another way of achieving such a setup would be to use the Failover Clustering Service (FCS) but that is a scale up where as this is a scale out that also has the advantage of spanning geographical sites. Therefore, this is a much more scalable solution than a plain failover cluster.
For administrators, this should immediately result in a quality of life improvement since the times around maintenance windows can be relaxed at least in relation to file services. In addition, servers can be upgraded, physically replaced, and renamed all without affecting business users. The entire servicing process now becomes transparent to the clients.
Below is an overview of the steps an end user's client will take to access a share hosted on a DFS root.
-
Client first queries AD to find names of namespace servers.
-
As per AD site information stored by the domain controller the client tries to contact the closest namespace server. If there are no namespace servers available in client’s site then client selects next-closest offsite server.
-
Once client has communicated with namespace server and folder structure is provided to user, user starts selecting the folder. Namespace server provides a referral matching the underlying target network share to client. The client in turn connects back to destination server which is the hosting actual data.
-
If there are multiple targets available for a given folder the client will then use the AD site information again to choose the closest share.
Now that the basic foundation has been laid let us show you how to go about implementing this feature by presenting a quick guide.
Creating a DFS root
Nothing needs to be done on the client machine to connect to a DFS managed share as DFS relies on the same SMB shares and CIFS protocols already being utilized by standard Windows shares.
However, to create a DFS enabled File Server you need to be running Windows Server 2003 and up and be a member of the domain. In addition, both the File Server Role and DFS Management Features need to be installed on every server that will join as a member in the DFS root tree (that is these features need to be installed all File Servers participating).
Once the above criteria is satisfied a DFS root can be created on any File Share using the following procedure. Multiple DFS roots can be hosted on a single domain.
To create a DFS root:
-
Open the Distributed File System Manager by going to Administrative Tools -> DFS Management or via the DFS Managment Snap-In in ServerManager via Role -> File Services -> DFS Management.
-
On the Action menu, click New Root.
-
Follow the instructions and fill in the requested details in the New Root Wizard.
Replication

Finally, after the DFS root is created the last step is to actually share some data. To do this we need to publish File Shares to the namespace as well as setup the configuration to continously synchronizes changes by copying file deltas to multiple locations on different servers.
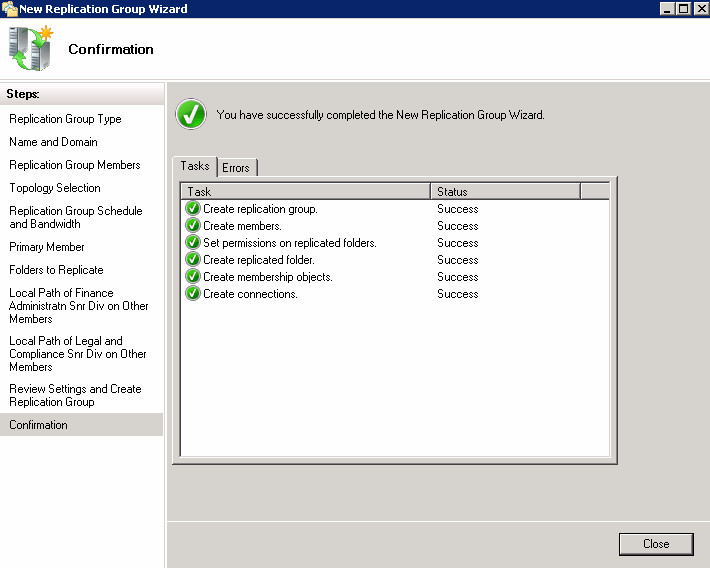
This data backup and share publication to the namespace is done in a single step using the Replication Wizard. The Replication Wizard can be accessed from the DFS Management console mentioned previously. Windows offers quite a bit of flexibility when configuring replication as the administrator can specifiy numerous target locations, limit bandwidth, select duplication schedules and chose between asynchronous copying that is bi-directional replicas known as Full Mesh or one-way synchronous data duplication in the Branch Office scenario.
I won't go through all the details here but the wizard is fairly straight forward. If all is validated at the end of the process you should be presented with a screen similar to this one. [1]
Migrating and Consolidating Existing Shares
Not starting from scratch? Don't worry, Microsoft has already thought of this scenario and developed the File Server Migration Toolkit for this very purpose.
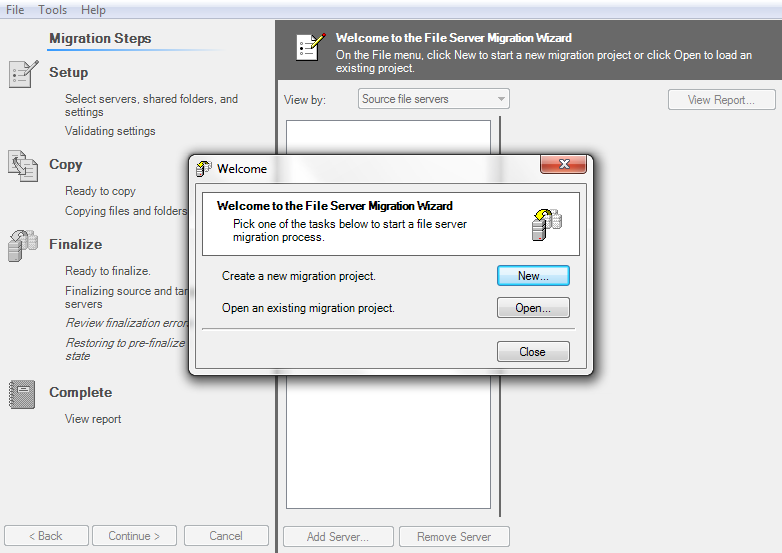
In the toolkit are two wizards to help with data migration and consolidation process. The File Server Migration Wizard and the DFS Consolidation Root Wizard.
The Root Wizard helps in the case where you want to migrate existing shares to a DFS system but want to maintain the legacy UNC pathnames (For example, in the event that it would be too difficult to educate users on the new network name). In a DFS root consolidation both the old paths and new ones exist simultaneously. Old locations are merely a symbolic link to the DFS tree.
On the other hand the File Server Migration Wizard is a general purpose wizard for moving data from shares to other servers but includes the ability to publish to a DFS namespace as well to stop the services on the existing File Servers post data copy and migration.
For further information and tutorials on DFS features you may want to read the guides over at TechNet.
Note, you can skip the replication wizard and add shares individually without replication. That is shares with only one target. Multiple targets can then be added later and replication manually enabled. This isn't recommended as most likely you may end up having to do the initial file copy. Also there might even be failed cases in the validation steps that are needed to complete the wizard. This usually happens when it detects a name clash if it tries to publish a share that exists already in the namespace. Nevertheless, it is possible to get the replication groups created in this fashion, it's just a more frustrating route. ↩︎
 Nneko Branche.