
Wikis have proven to be a great tool to enable user centered content generation. They are very effective at collating articles and presenting information. The best example of one such Wiki comes in the form of Wikipedia. In only a few years it has replaced the traditional printed encyclopedia as a source of reference for all manner of facts and opinions. To date, no other encyclopedic journal has amassed more information in one place. This only goes to show the sheer power of the Wiki as a user centered and emplowering platform.
While the wiki is yet another web based publication medium these modern day user produced manuals, know-how and learning repositories have allowed us to democratise and distribute information cheaply and at scale. Wikipedia is but one very public example of this. However, other wiki engines also achieve a similar purpose but on a smaller scope for teams of varying sizes in both public and private organisations.
One such wiki engine is dokuwiki. The light weight and simple WikiWiki which excels in the project and small to medium size environment. In this feature we will demonstrate how you can deploy and use it for collaboration and dynamic or live documentation.
Dokuwiki
A simple flat file based wiki for the enterprise.
Being a web application built using PHP, dokuwiki relies upon a PHP interpreter connected to a webserver to deliver its dynamic content. Therefore, our first task is get PHP up and running as well as to install a webserver on the host machine. Any standard LAMP (Linux Apache MySQL/MariaDB PHP) or LEMP (Linux Nginx MySQL/MariaDB PHP) stack will work. In fact you can even go with a WAMP (Windows Apache MySQL/MariaDB PHP) setup if that floats your boat.
The real beauty about this wiki, other than its easy going markup syntax, is that it stores all it's content and persistent data as flat files on the filesystem. So we won't even the need the M part of the equation. That is one less thing to configure and gets us that much closer to generating content.
Throughout this article we will be using Fedora as our operating system and Nginx as the webserver. However, you are free to use the OS and web server that suits your needs best. Dokuwiki has active support for Apache, Nginx, LightHTTPD, IIS and can run anywhere where PHP goes including Windows, Mac OS X, Linux, FreeBSD etc.
PHP and Nginx
Download and install PHP and Nginx including their dependencies from your distributions repository. In our case we will be using yum which is the default package management tool on Fedora.
yum install php-fpm php-cli php-gd php-apc php-curl php-mcrypt nginx
Note, the we are using the FPM FastCGI version of PHP above. This is not strictly necessary but recommended for use with nginx due to its speed and it can even be integrated with Apache as well. We have also chosen to include commonly utilized modules for PHP along with our install.
- php-fpm: Base PHP-FPM package.
- php-apc: PHP Alternative Cache. Speeds up the execution of php scripts by caching functions.
- php-gd: A PHP module that allows graphics to be drawn directly by PHP scrips. Required for some image based application functions.
- php-mcrypt: A module which gives PHP access to a wide range of encryption and decryption functions. Normally used for password hashing. Required by some applications.
- php-cli: Provides the ability to run PHP scripts from the command line. Useful for troubleshooting and because some applications, like MediaWiki, require you to manually execute scripts to do updates or other administrative functions.
- php-curl: Gives PHP the ability to use cURL. Required for some applications.
Configuring PHP
Most of the default settings that come bundled with the distribution version of PHP can be kept in place. Only a few changes need to be made to accommodate our deployment.
Custom changes will pertain mainly to the extra modules installed along with some performance optimization. In addition we will also increase the default file upload size.
The main configuration file for PHP is the /etc/php.ini file. This file will be parsed everytime PHP is started. The /etc/php.ini file will also load settings from our individual module configurations that are stored in /etc/php.d/ directory. The only other PHP configuration file that matters will be the files in the /etc/php-fpm.d/ directory. This directory contains FPM specific settings.
Bear in mind that the precise name and locations specified above may differ depending on the Linux distribution and OS choices you made previously. Nevertheless, the principles remain consistent.
Increase the APC cache buffer
Edit the /etc/php.d/apcu.ini. Change the apc.shm_size to the below.
apc.shm_size=128M
By bumping up the memory available to APC, our PHP cache, from its default 32MB of RAM which is fine for small sites with a single application to 128M our server will be able to process more traffic. Thus reducing the load on our CPU and filesystem especially if our webserver will be running many PHP applications.
Increasing the maximum upload size (POST upload limit)
The default upload limit (which uses the POST HTTP function) is set at 8MB. However, as most web applications these days allow users to post high resolution pictures and even video 8MB is hardly going to cut it.
Let's push it up slight to 10MB (which keeps it inline with most email services). This can always be changed later.
Edit /etc/php.ini and set the post_max_size parameter like the below.
post_max_size = 10M
Editing the FPM listen group and owner
Best practice dictates that we run our webserver and consequently our scripting engine as a separate user with restricted permissions and not under the system administration account or root user.
This is to limit the damage if our server becomes compromised. Therefore, let us adjust the owner and group that will own the FPM process. This process runs and binds to TCP port 9000 by default on the localhost.
Change the following in /etc/php-fpm.d/www.conf
listen.owner = http
listen.group = http
Also change the user and group for the php-fpm processes
; Unix user/group of processes
; Note: The user is mandatory. If the group is not set, the default user's group
;       will be used.
; RPM: apache Choosed to be able to access some dir as httpd
user = http
; RPM: Keep a group allowed to write in log dir.
group = http
As an aside FPM operates on pools. The www.conf file refers to the www pool.
Disabling cgi path fix
To reduce our security exposure we are going to force the PHP interpreter to only process the files that match the path exactly.
Edit /etc/php.ini and update the following line.
cgi.fix_pathinfo=0
Make FPM utilize unix sockets instead of the IP/TCP network stack
Because our FPM interpreter and the webserver will be running on the same host we can utilize unix kernel sockets instead of the network stack. This will provide a speed boost and reduce the IO burden on the server.
Edit /etc/php-fpm.d/www.conf
listen = /var/run/php-fpm.socket
Attaching PHP-FPM to Nginx
Now that PHP is installed and configured we need to let Nginx know that it should connect to FPM on startup as well as forward all requests for .php files to FPM for processing.
Defining the PHP-FPM interpreter socket
Create a new file under /etc/nginx/conf.d named php-fpm-socket.conf.
Add the below to the file.
upstream php-fpm-socket {
	server unix:/var/run/php-fpm.socket;
}
Adjust Nginx FastCGI buffer sizes
Append the following to /etc/nginx/fastcgi_params.
fastcgi_buffer_size 128k;
fastcgi_buffers 4 256k;
fastcgi_busy_buffers_size 256k;
Create a location definition for all PHP files
Open the nginx.conf file /etc/nginx/nginx.conf and add a location definition inside the server { block.
    location ~ \.php$ {
            try_files $uri =404;
            include fastcgi_params;
            fastcgi_pass php-fpm-socket;
            fastcgi_param SCRIPT_FILENAME $document_root$fastcgi_script_name;
            fastcgi_intercept_errors on;
    }
The above uses a regular expression to match all files that end with .php and pass them to our php-fpm interpreter.
Restart nginx and php-fpm
Finally we need to restart both our webserver and php interpreter for our changes to take effect.
Validate the webserver configuration
To ensure that our PHP and webserver is configured properly and that nginx can speak to php-fpm we are going to create a test php file to print out our server settings.
Go to your webserver's document root. Do the following.
vi phpinfo.php
Paste the below content into the file.
<?php phpinfo(); ?>
Launch your browser and visit the page http://
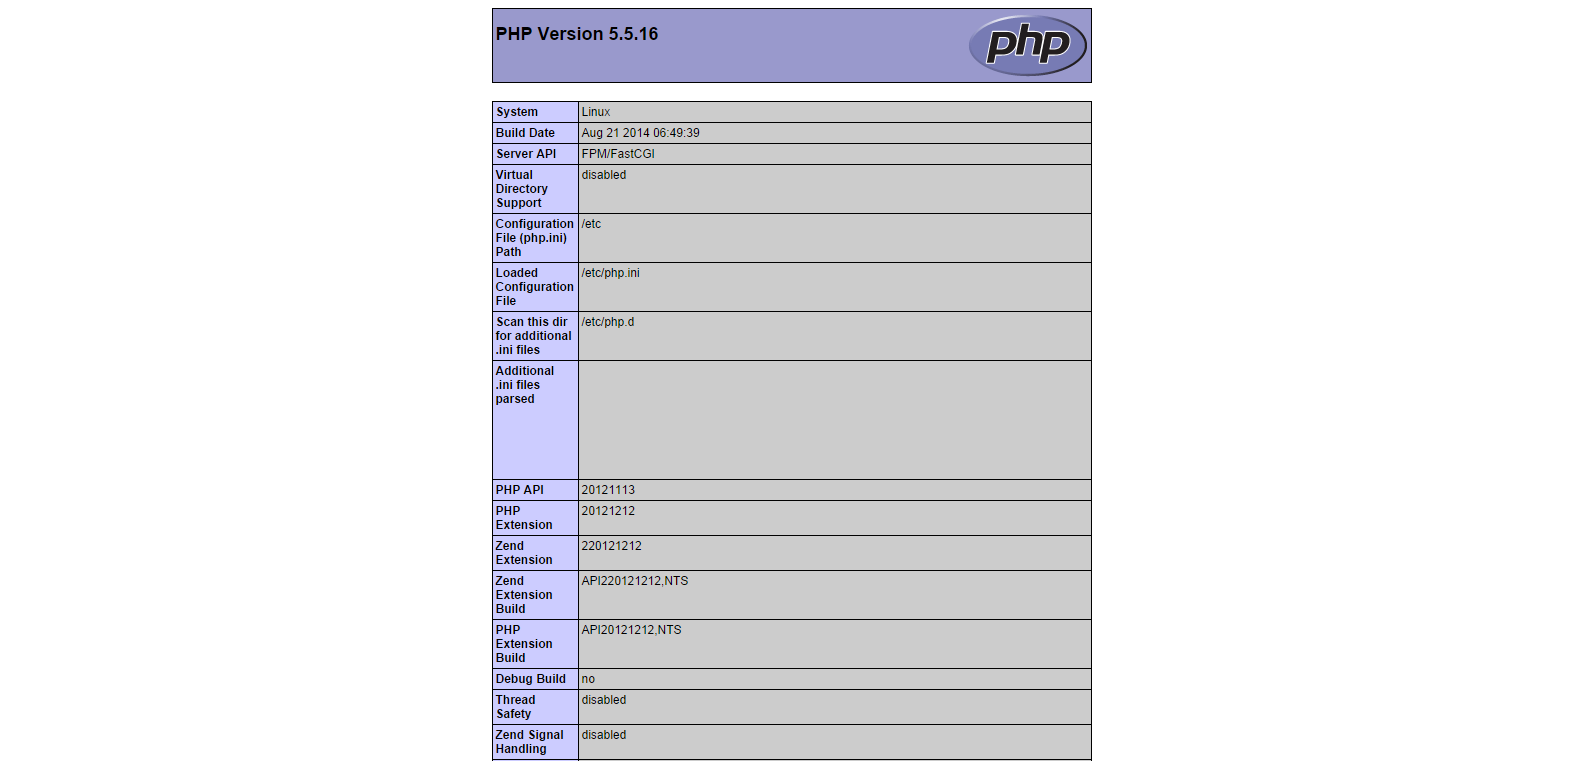
Should you have errors at this point especially if running on a Red Hat based distribution check you firewall rules and SELinux profile settings.
firewall-cmd --zone=dmz --add-port=80/tcp --permanent
firewall-cmd --reload
or
firewall-cmd --zone=public --add-service=http --permanent
firewall-cmd --reload
To update the SELinux profile do the following:
chcon -R -t httpd_sys_content_t <docroot>
chcon -R -t httpd_sys_rw_content_t <docroot>
Deploying Dokuwiki
Let's go ahead and download the latest version of dokuwiki.
wget http://download.dokuwiki.org/src/dokuwiki/dokuwiki-stable.tgz
This will download a tar.gz archive named dokuwiki.stable.tgz to the current working directory. The next step is to extract our dokuwiki archive to our webserver's root dirctory.
tar -C /path/to/webserver/docroot -xvf /path/to/dokuwiki-stable.tgz
Once the files are extracted remember to change the ownership to the user and group of the webserver. In our case that is http:http.
chown -R http:http dokuwiki
Update the webserver configuration with the location rules for dokuwiki
Edit the nginx.conf file and add the below location rules under the server section.
location ~ ^/dokuwiki/(data|conf|bin|inc)/ {   # secure DokuWiki
      deny all;
    }
    location ~ /\.ht            { deny all; } #Deny Access to htaccess-Files for Apache

    location ~ ^/dokuwiki/.*\.php$ {
      root           /usr/share/dokuwiki;    #adapt if needed
      include        fastcgi_params;
      fastcgi_pass   php-fpm-socket;
      fastcgi_param  SCRIPT_FILENAME $document_root$fastcgi_script_name;
      fastcgi_param  PATH_INFO        $uri;  #necessary for URL rewrite
    }

    # serve static files
    location ~ ^/dokuwiki/lib/^((?!php).)*$  {
      root         /usr/share/dokuwiki/lib;   #adapt if needed
      expires 30d;
    }
Adjust the regexes as needed to match the name of the dokuwiki directory in your web servers docroot. Restart the webserver and go to the wiki install.php page.
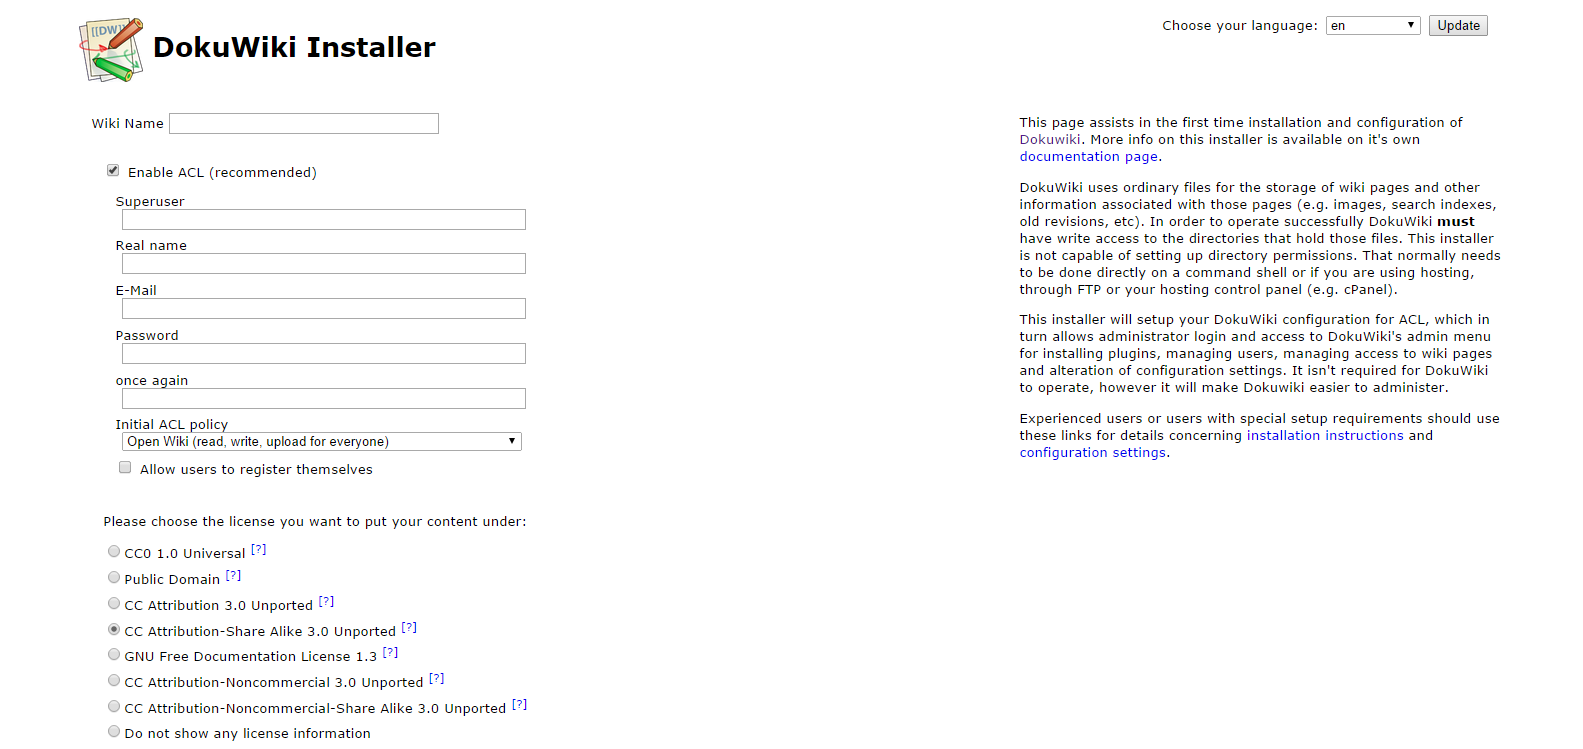
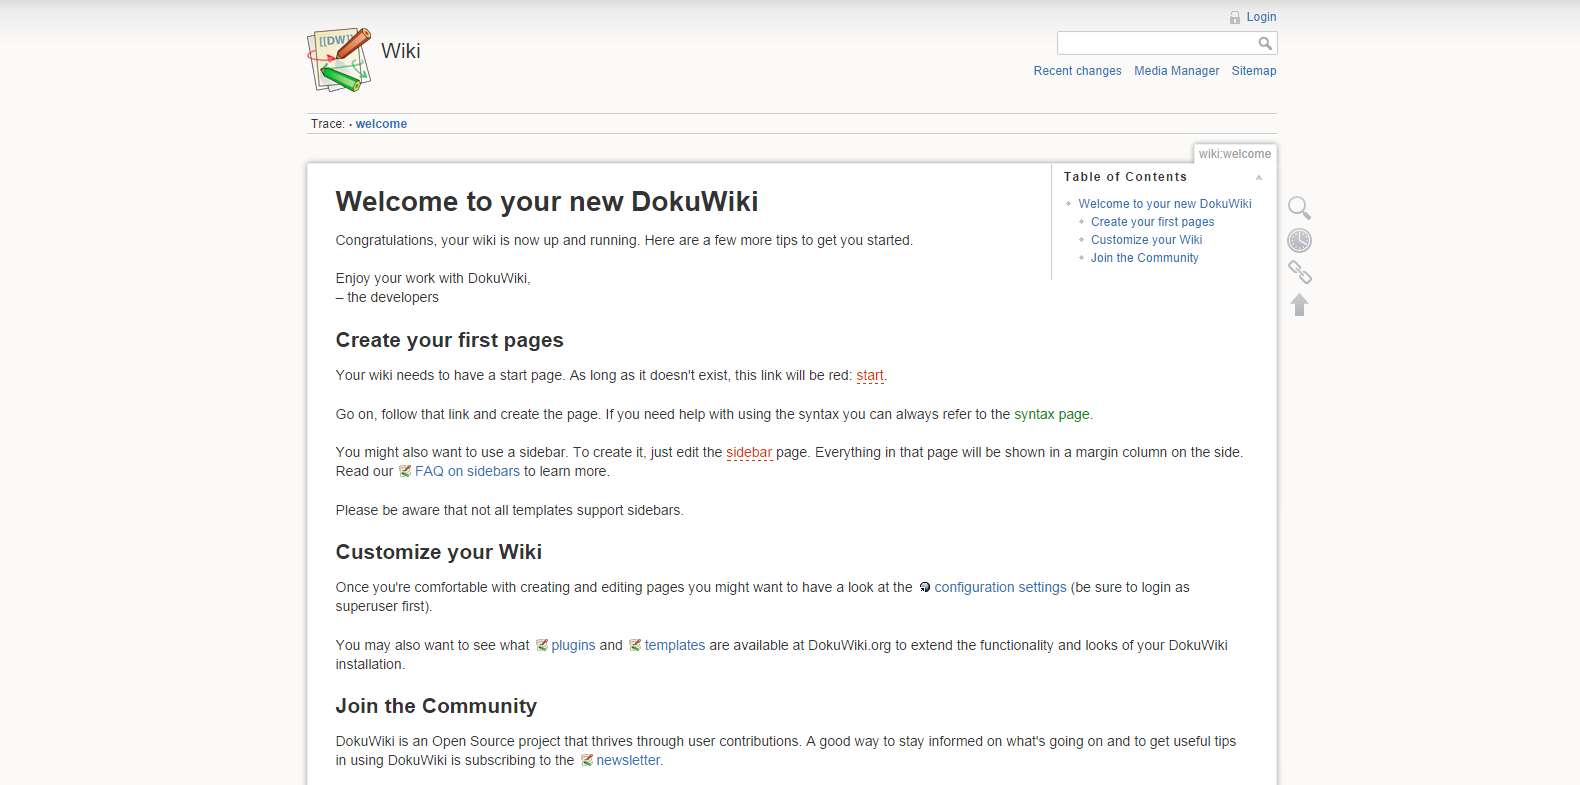
Enter the required information to complete the installation. After the installation is complete you should now see the welcome page.
Mopping up!
Now that the wiki has been installed you should delete the install.php file from the wiki directory on the webserver.
That's it! You now have a working wiki.
What's Next
The first place to start is to explore the available plugins at https://www.dokuwiki.org/plugins. Now start writing!
Written by Nneko Branche.