
The web of today is a very social medium. Therefore, one of the first things a new netizen who decides to publish a new website, blog or develop a custom app will want to do is to figure out how to add sharing buttons. In this feature I will demonstrate how to do just that. Additionally, we will take it a step further by using Open Graph HTML meta tags to markup the page thus enabling our shared content to be more than simply boring text and links. Instead it will show up as media rich posts in the newsfeed or firehouse.
Having user accessible sharing options will allow your audience to connect and distribute your content with their social network. Hence, widening your total reach. In theory this should boost your traffic and increase engagement. Fortunately, most content management platforms have taken care of this aspect long ago and included this by default in the basic package. However, if you are like me using a more cutting edge platform in development such as Ghost or are building a new application or custom website without a framework doing the hand holding then you will have to manually include these and this tutorial is for you.
I will be using ghost to illustrate but the techniques described can easily be adapted to any other platform or plain website. We aim to achieve results similar to the below.
Photo by John O'Nolan from Ghost.
Let's get right to it. Our friends over at Ghost made a few changes in November to allow the platform to integrate more easily with social networks. They added structured data elements via Handlebars helpers and updated the editor interface to enable users to update these meta fields from within the GUI.
However, one thing they failed to explain is that for these elements to work you need to make a few modifications to the theme to incorporate the meta data into the HTML meta tags on the site.
Adding the Structured Data to the Page
The first thing you will need to do is open the default.hbs file for the currently running theme. We are going to edit it by adding a few new <meta/> elements.

Next we add the following line between the <head></head> tags.
<!-- Twitter Card Meta Tags -->
<meta name="twitter:card" content="summary_large_image" />
<!-- Include your twitter account name here as the value for the content attribute. Be sure to include the @ sign with the name -->
<meta name="twitter:site" content="" />
<!-- Twitter Card End -->
<! Because twitter will fallback to the og data it will automatically pick up the title image and description from the below facebook open graph tags. Hence, we do not include them above to avoid duplication -->
<!-- Facebook Open Graph Meta Tags -->
<!-- Put the name of the site as the value for content -->
<meta property="og:site_name" content="" />
<meta property="og:url" content="{{@blog.url}}{{url}}" />
<meta property="og:title" content="{{meta_title}}" />
<meta property="og:description" content="{{meta_description}}" />
<meta property="og:type" content="website" />
<meta property="og:locale" content="en_US" />
{{#is "post"}}
{{#post}}
<meta property="og:image" content="{{image absolute='true'}}" />
{{/post}}
{{else}}
<meta property="og:image" content="{{@blog.url}}{{@blog.logo}}" />
{{/is}}
<!-- Facebook og end -->
```[^2]
One more thing. In order for the [Facebook](https://www.facebook.com) crawler to sucessfully read your tags you must ensure that the link rel="canonical" in your header matches exactly the `<meta property="og:url" content="{{@blog.url}}{{url}}" />`. Therefore, go ahead and change it to `<link rel="canonical" href="{{@blog.url}}{{url}}" />`.
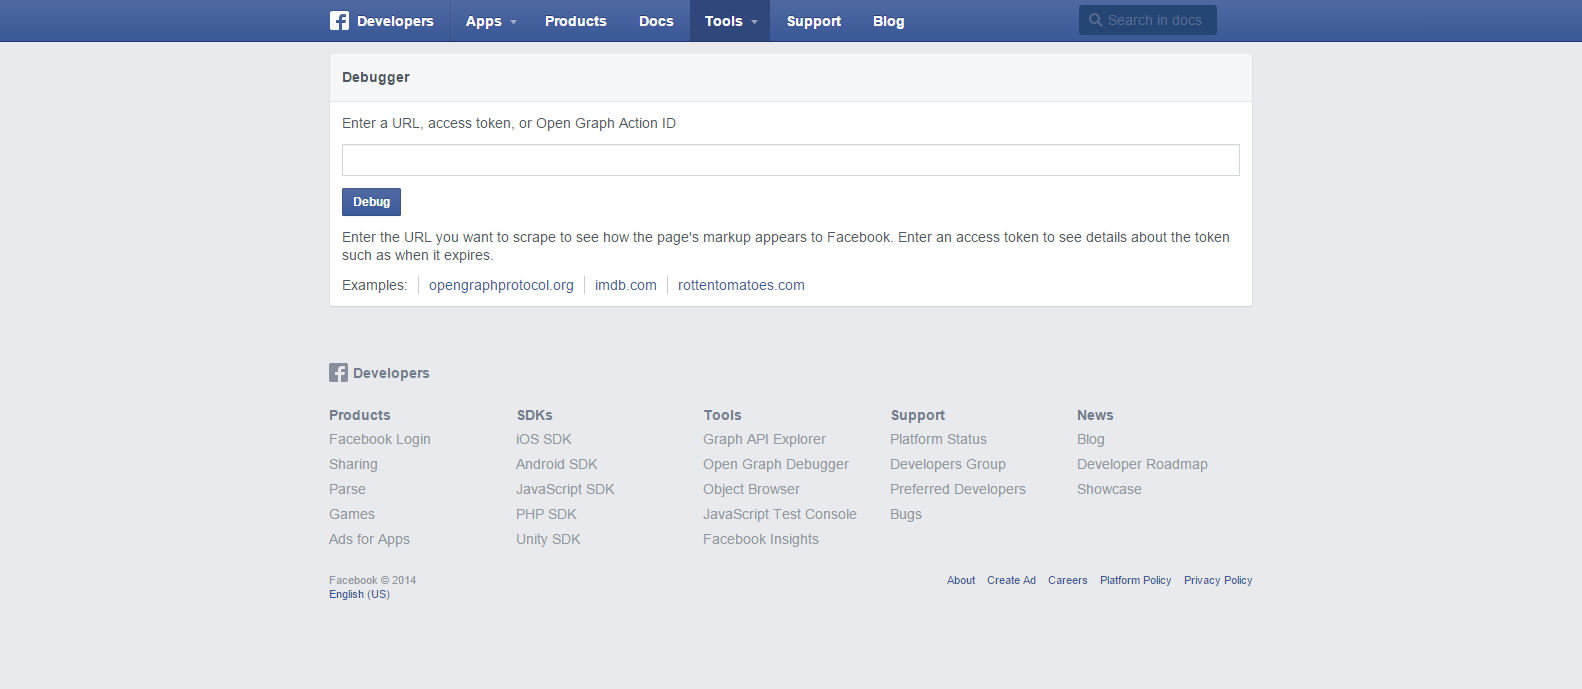
That's it! Now it is time to double check that everything will look as expected. Go to [Facebook Developer Tools URL Debugger](https://developers.facebook.com/tools/debug/) to confirm.
For Twitter you need to utilize the [Card Validator](https://cards-dev.twitter.com/validator)
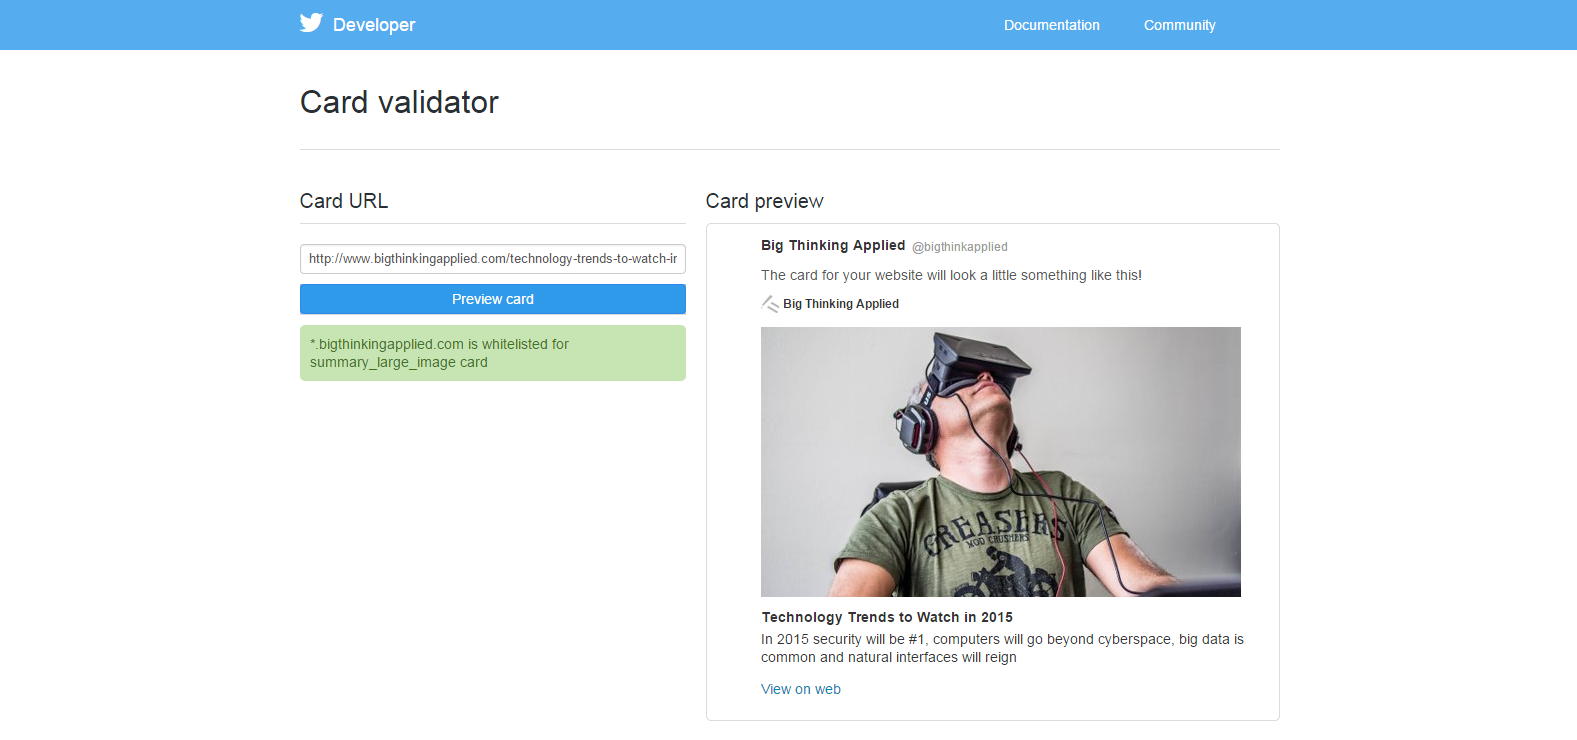
Note, that on Twitter you will need to request approval and then grant permission before Twitter will allow cards to be displayed. Requesting approval can be done via the Card Validator Page.
##Adding the Buttons
Once, the above steps are completed any links shared from within either Facebook or Twitter will detect the tags and display correctly in the newsfeed or firehouse.
However, to enable users to post and share directly from the site you need add buttons like the below to any content area on the page you deem fit. Below we simply use the URL APIs which avoid us having to add miscellaneous javascript files for each service and instead allows us to use standard HTML anchor tags.
```html
<a class="icon-facebook" href="https://www.facebook.com/sharer/sharer.php?u={{url absolute="true"}}"
onclick="window.open(this.href, 'facebook-share','width=580,height=296');return false;">
<span class="hidden">Facebook</span>
</a>
<a class="icon-twitter" href="https://twitter.com/share?text={{encode title}}&url={{url absolute="true"}}"
onclick="window.open(this.href, 'twitter-share', 'width=550,height=235');return false;">
<span class="hidden">Twitter</span>
</a>
Happy Sharing!
Written by Nneko Branche.