
Following up on the heels of our previous tutorial where we demonstrated how to setup a virtual environment using VirtualBox in this post we will delve into actually installing an operating system (OS) on that newly minted Virtual Machine.
This is an important step as without an OS the system is completely useless. The OS we will be installing is a flavour of Linux called CentOS.
Pre-Installation Considerations
Before installing the system we must first consider the type of hardware so that we choose the appropriate installation media, such as 32-bit vs 64-bit to ensure compatibility with the OS.
Secondly, one should think about the end purpose for the system. That is what do you intend to do with the system after it is installed. For example, it could function as a web server, a backup server or simply a development desktop. Once, we are clear on the purpose for the system we can select the appropriate Base System software component bundle and add any additionally required packages.
Another consideration is the file system layout, it is important that we allocate enough space to the partitions that will be most needed such as the directory to be used for the application files and those used for any application or system logging. Thinking about these beforehand will allow us to avoid reconfiguration later on.
Finally, how the system will connect to the outside network should be taken into account and we can add the static IPs and other related details prior to beginning the setup.
A Basic Installation
For this exercise we will keep the installation simple.
- We will be using the VM created previously
- Automatic partitioning for the layout of our disks.
- DHCP will be used to assign the VM to a network
Now let's power up the VM which should already have the CentOS 7 image attached to the optical drive.
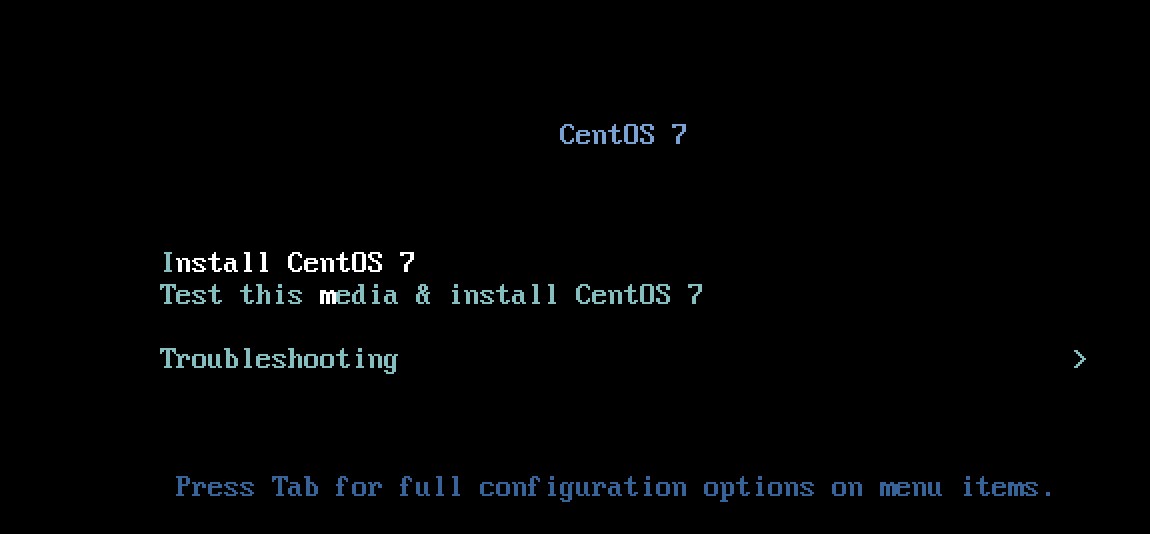
By default the boot menu will want to Test the media for use during the installation. This is a time consuming process and not required once you are confident in the installation media that was downloaded. Therefore, we will skip the check and proceed to the installation screens by selecting the first option.
The third item troubleshooting will come in handy if one day for whatever reason our system decides not to boot successfully or if we have lost our administrative (root) password and need to reset it but for now it is not needed and can be ignored.
Language Selection
Once the installation media is loaded the first choice we are presented with is to select our preferred language.
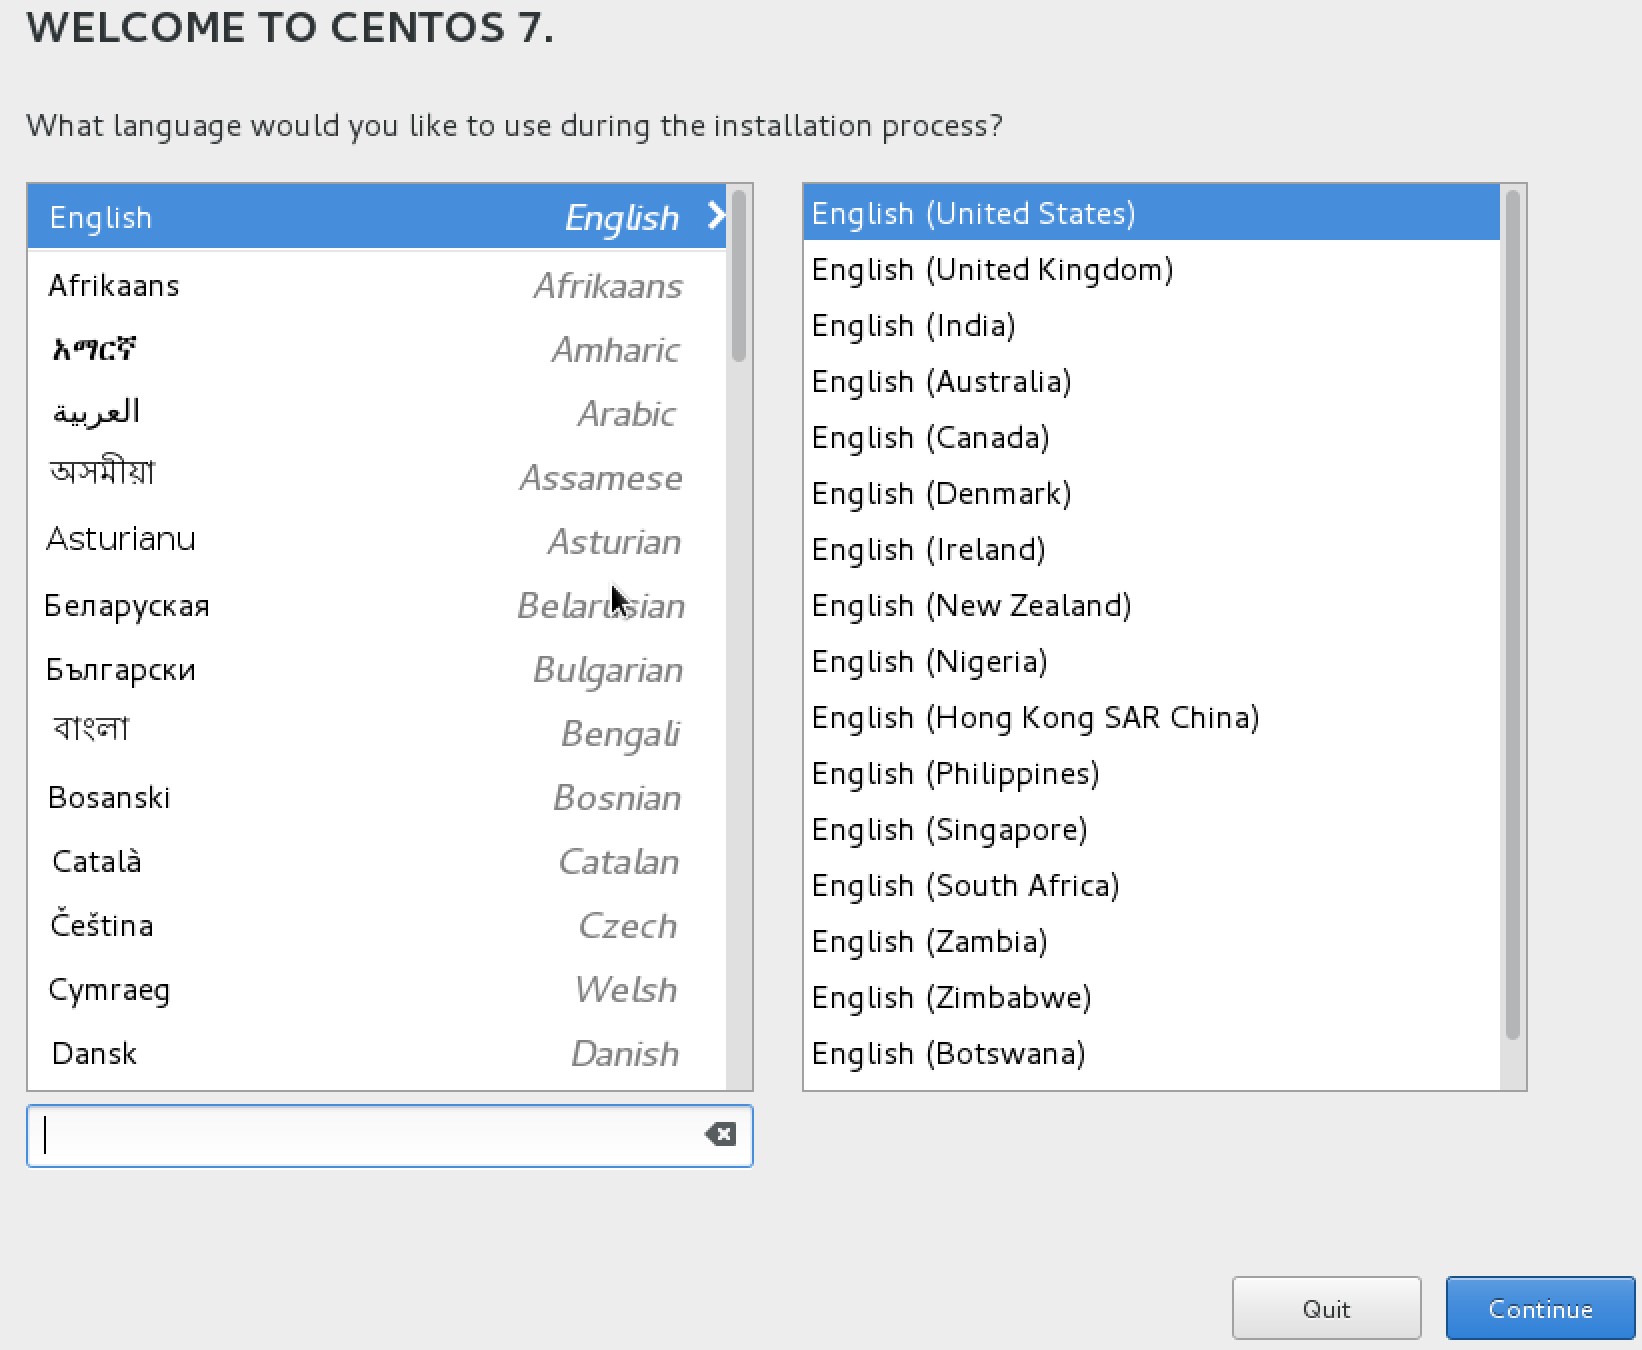
Scroll through the list and select your native language. The default is English (United States).
Configuration Menu
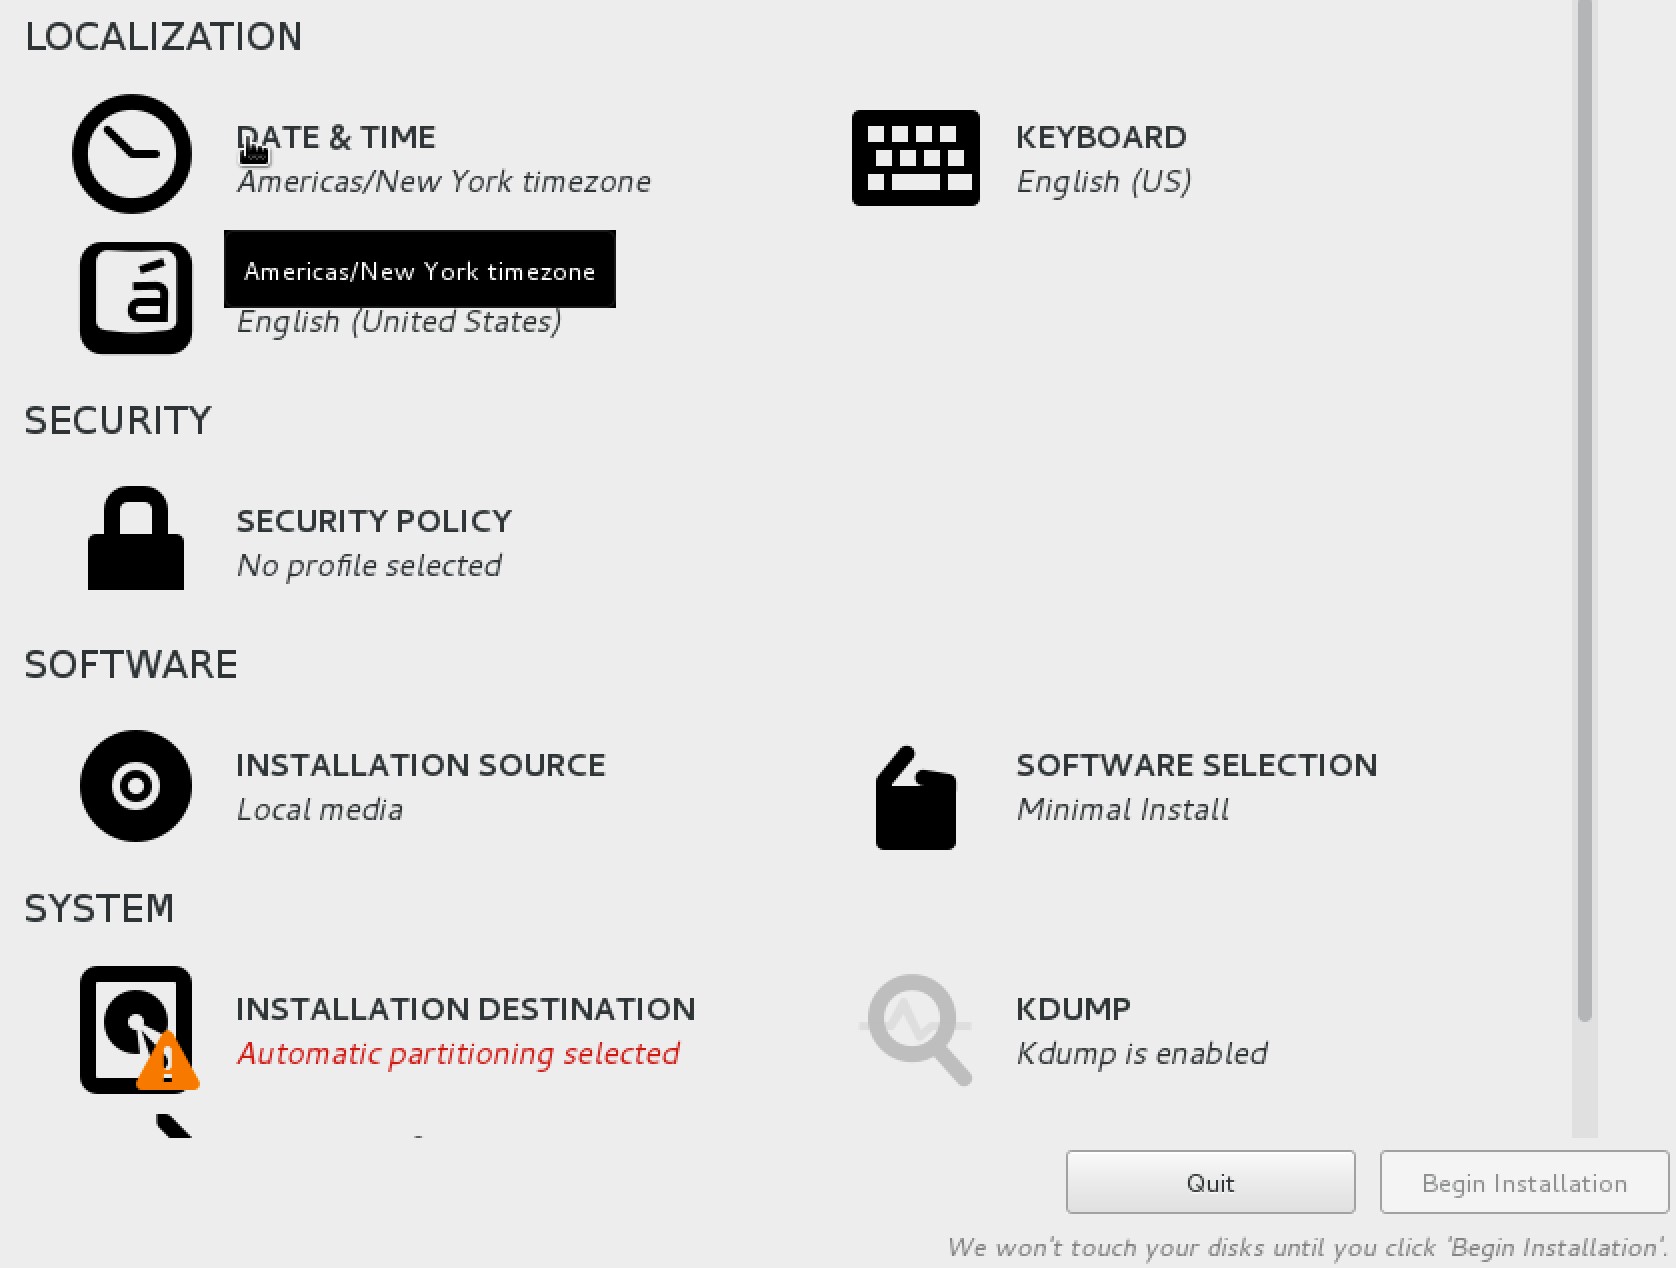
You will now be at the main menu from where most of the configuration tasks are performed. For this installation we will be adjusting the below sections from this menu
- Date & Time
- Software Selection
- KDUMP
Timezone Configuration
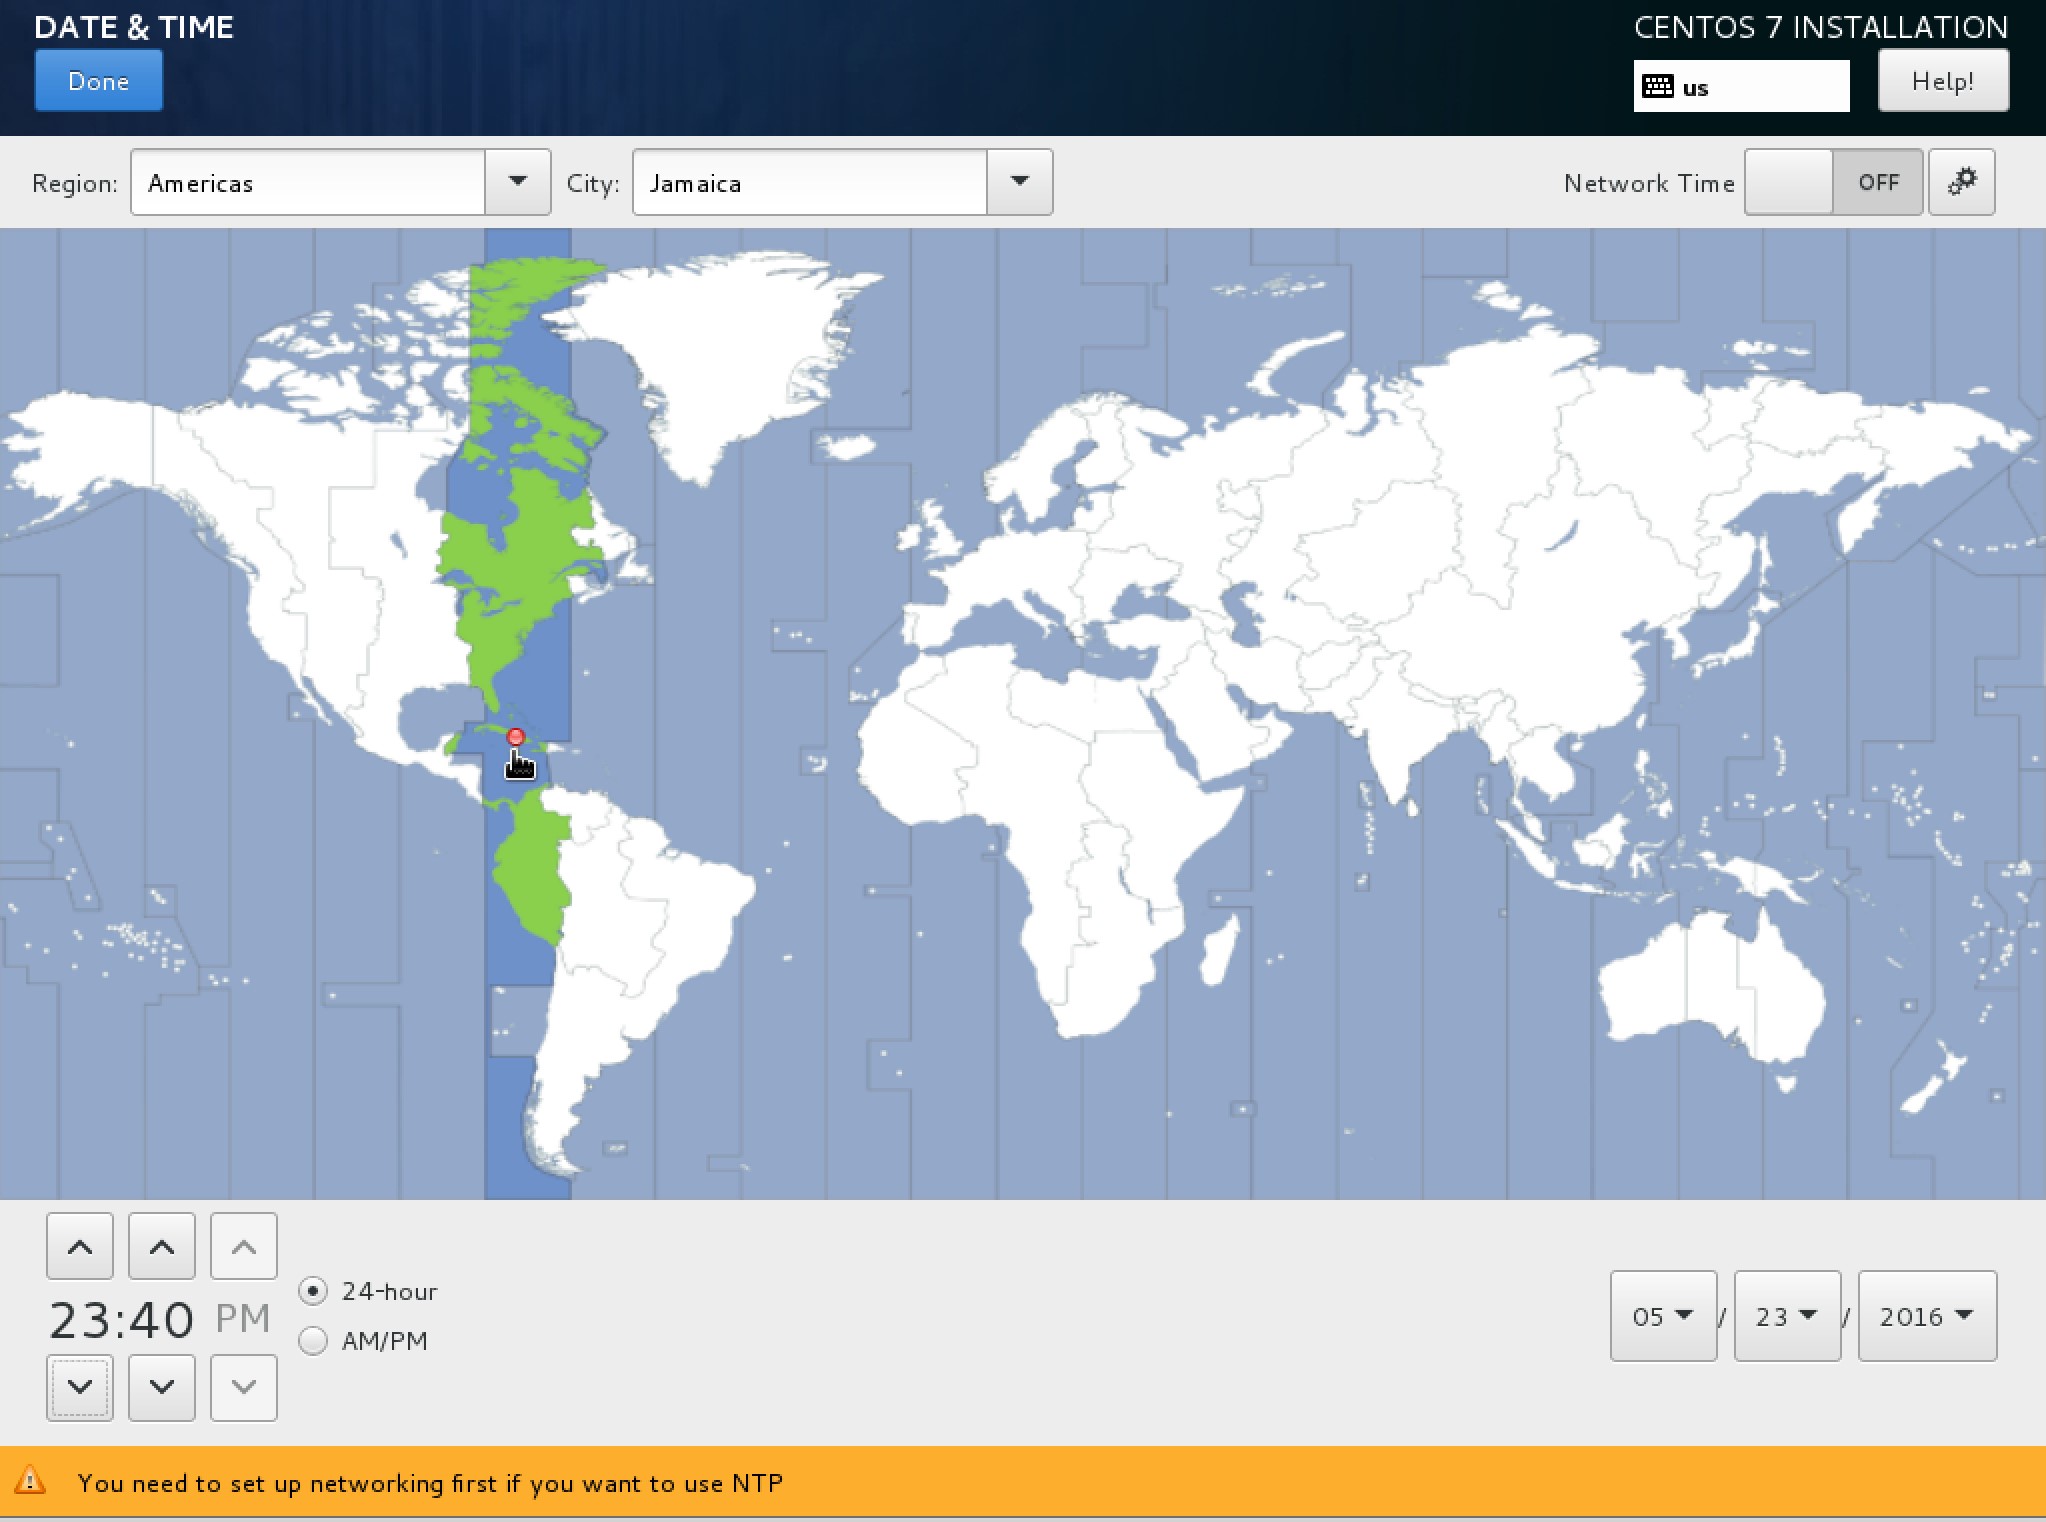
Click on DATE & TIME button from the main menu. In this section you will select the appropriate timezone to associate the virtual machine. You can then either click on your City or choose the region/city from the drop down menus provided. In our case I have chosen Americas/Jamaica. Make a choice suitable for your environment and click Done when completed to return to the main menu.
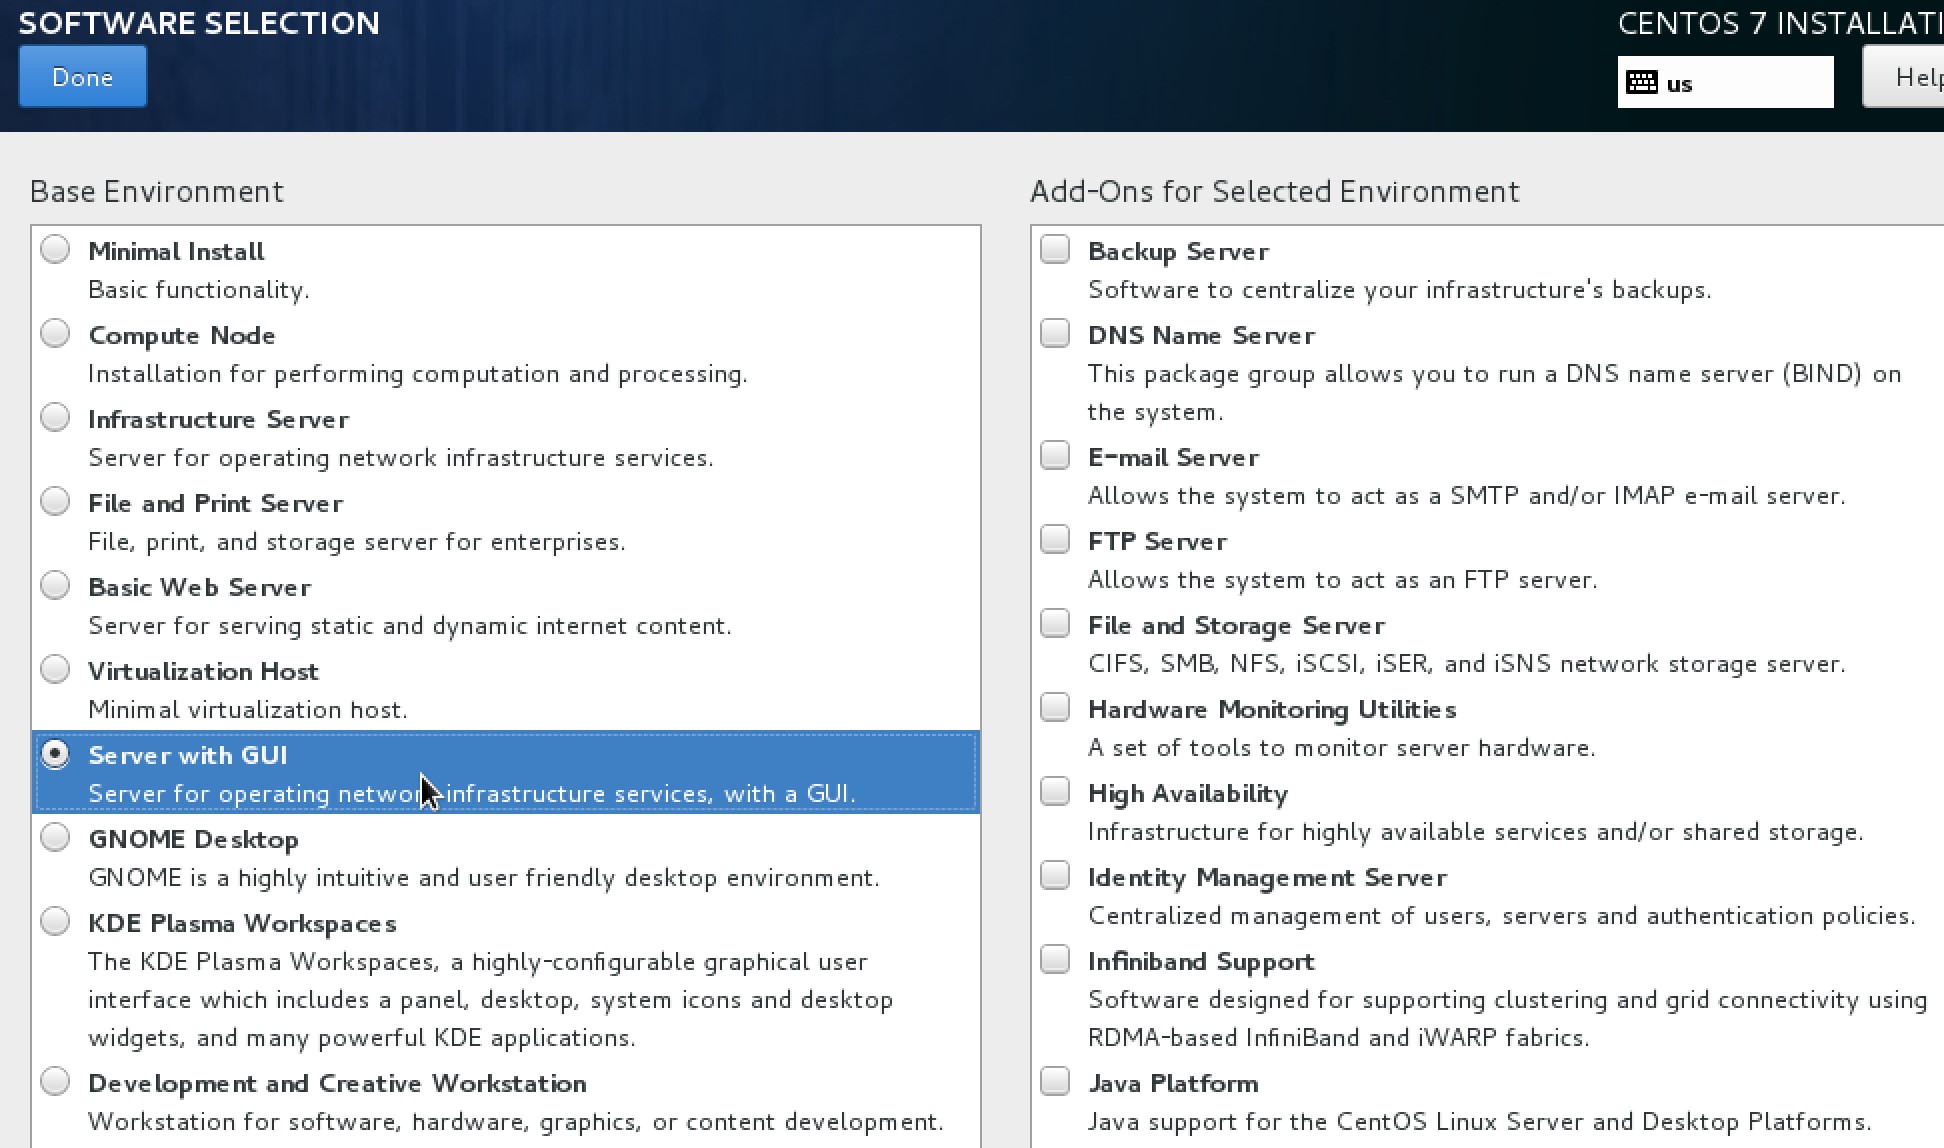
Selecting Software Packages
The Software Selection section allows us to decide the Base and add-ons packages. The choices made here will determine which software gets included in our initial build allowing us to customize the installation.
To make it a general purpose installation choose Server with GUI. Click Done when completed.
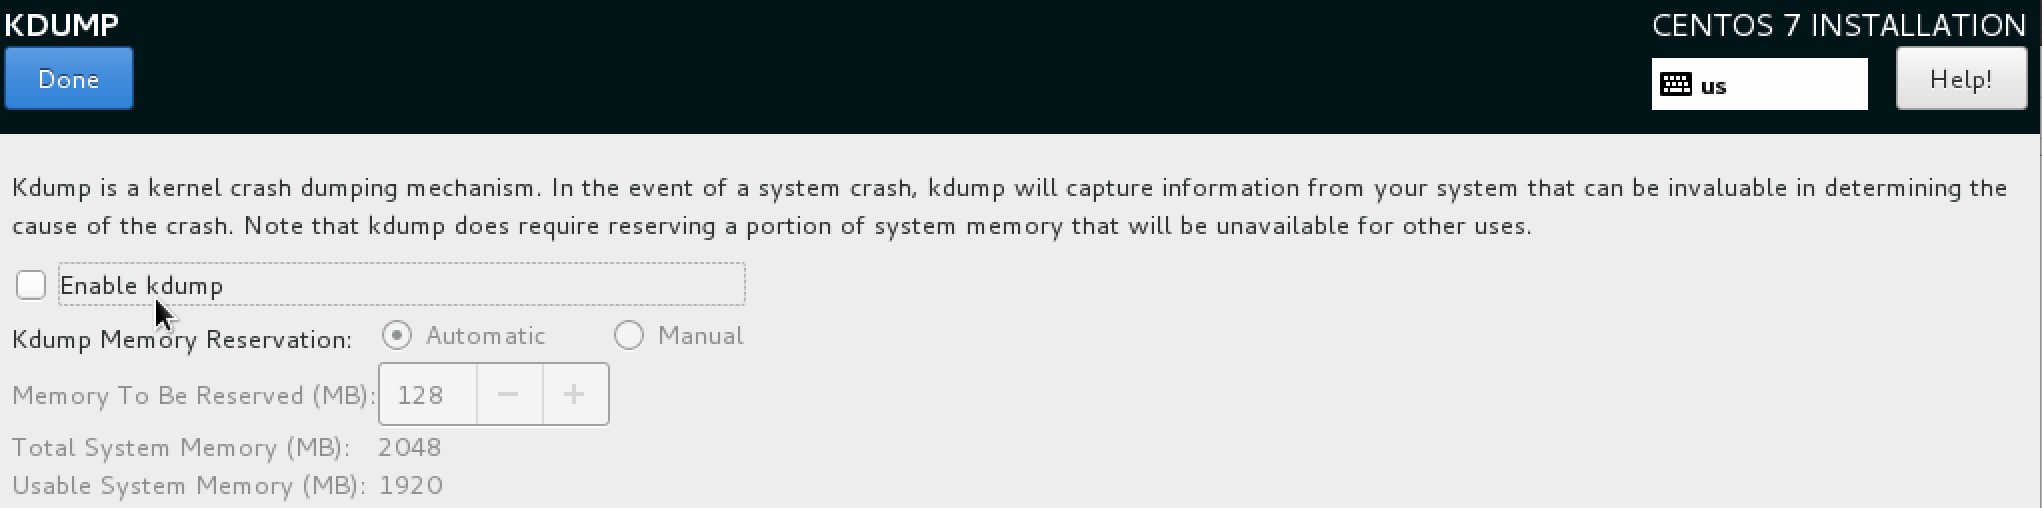
Kernel Dump Configuration
A Kernel Dump (KDUMP) is useful for capturing information whenever a system crash occurs. In order to do this it reserves some of your system memory.
Since, we are working with a conservative amount of memory and given the fact that Linux boxes rarely have a system failure we will disable the option (by unmarking the checkbox the box). Click Done when completed.
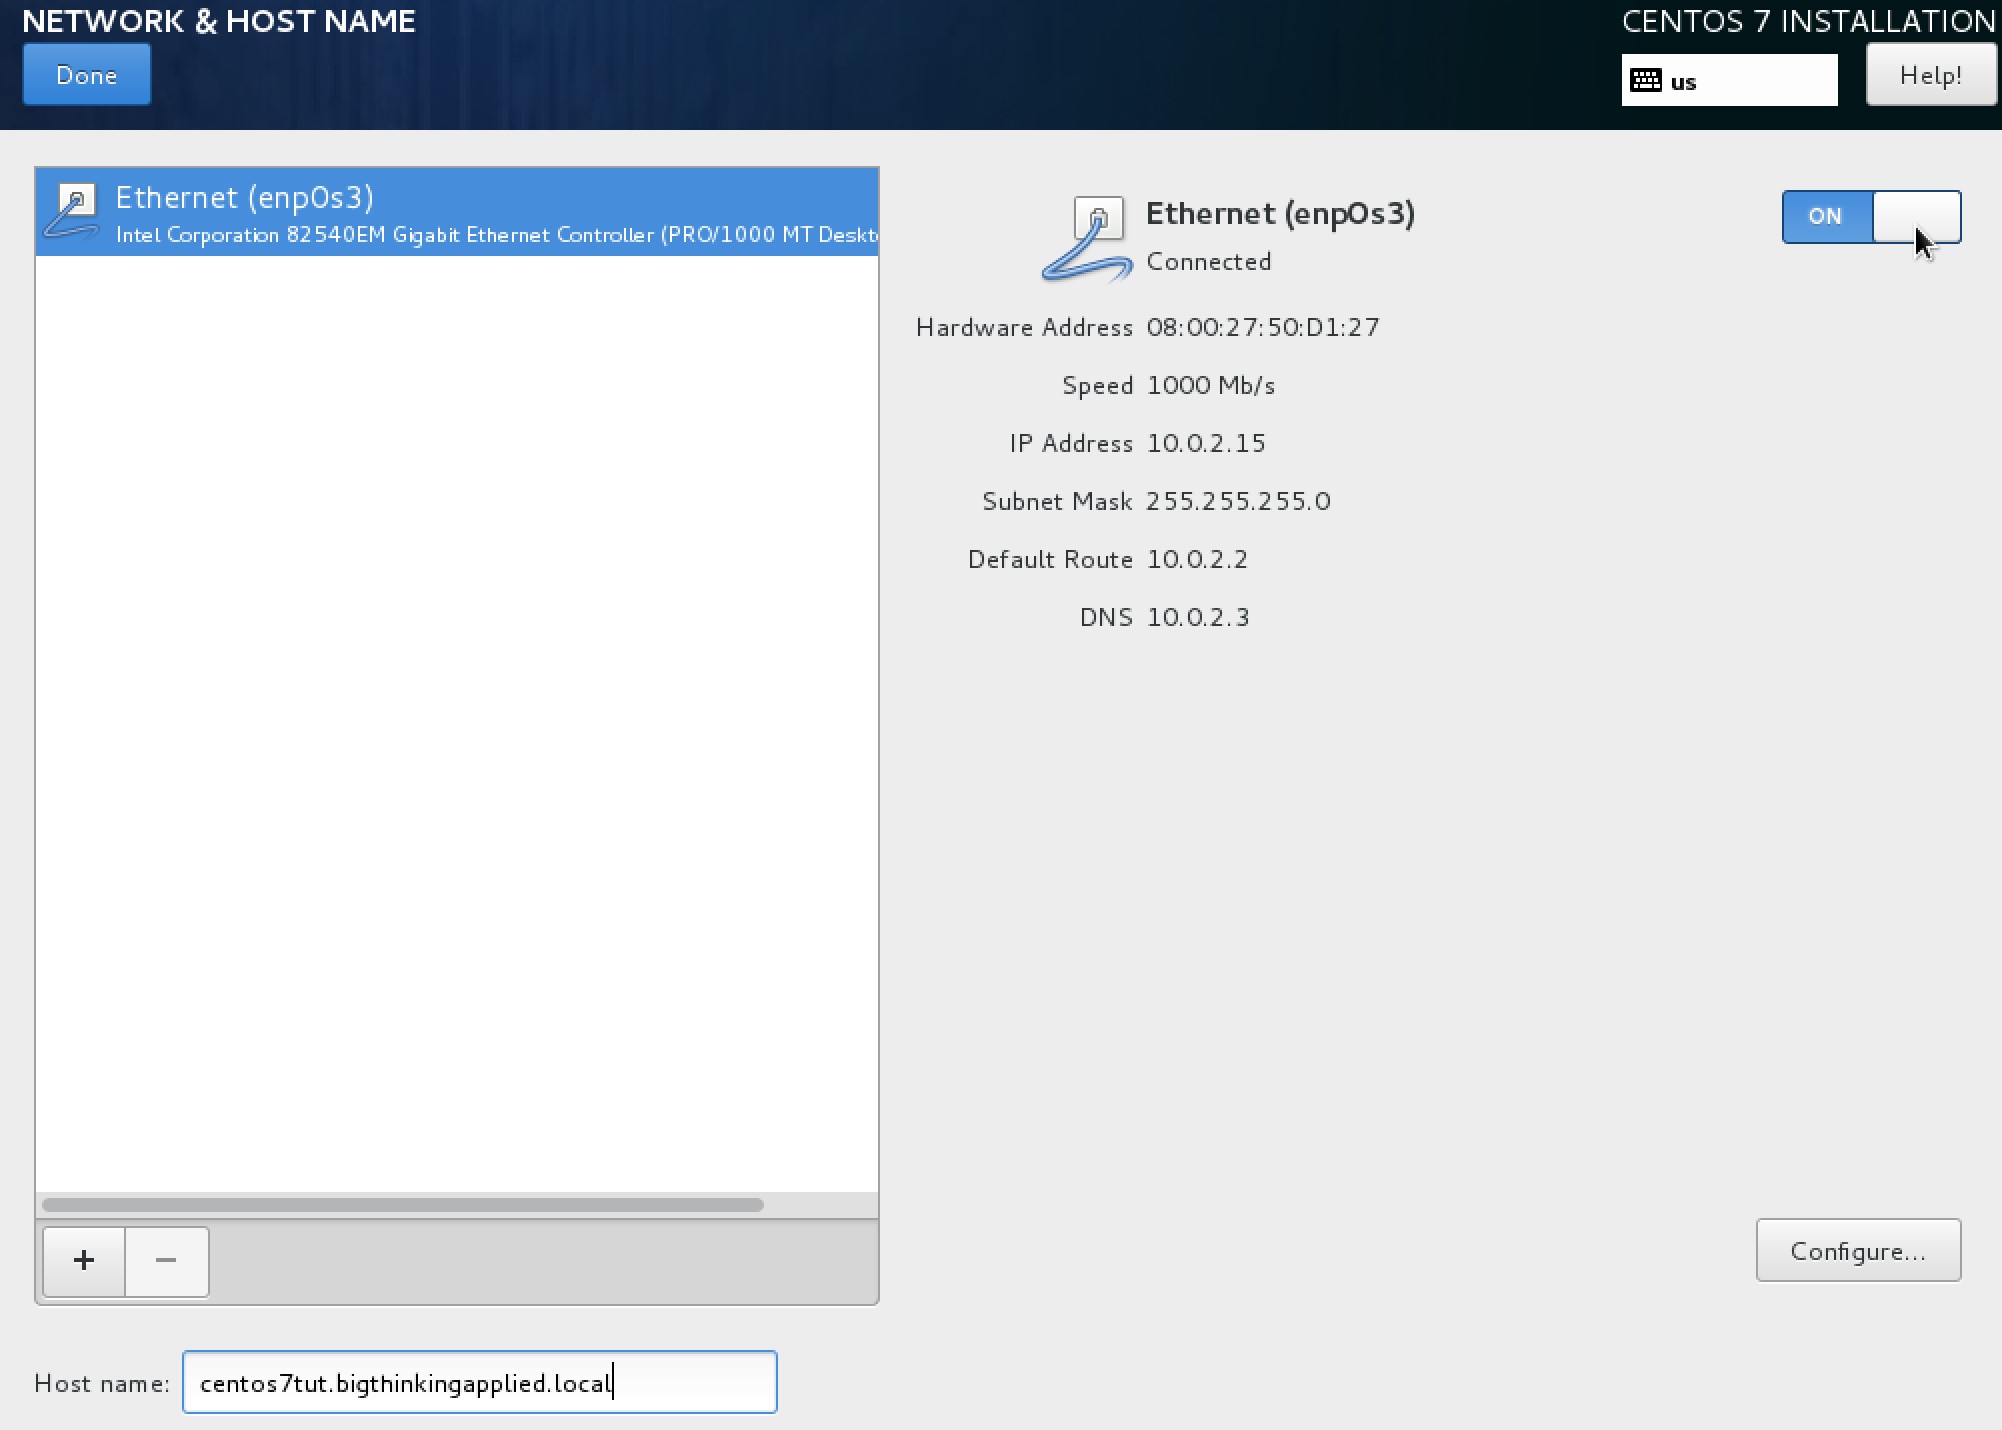
Networking
Click on NETWORK & HOST NAME from the main screen.
- Enable the network interface by clicking the switch next to it
- Give the machine a name by entering by filling in the hostname field
- Click Done when completed
Disk Formatting
Click on INSTALLATION DESTINATION from the main screen.
- Ensure Automatically configure partitioning is checked
- Verify and Click Done
This step is required before the option Begin Installation in the main menu becomes available.
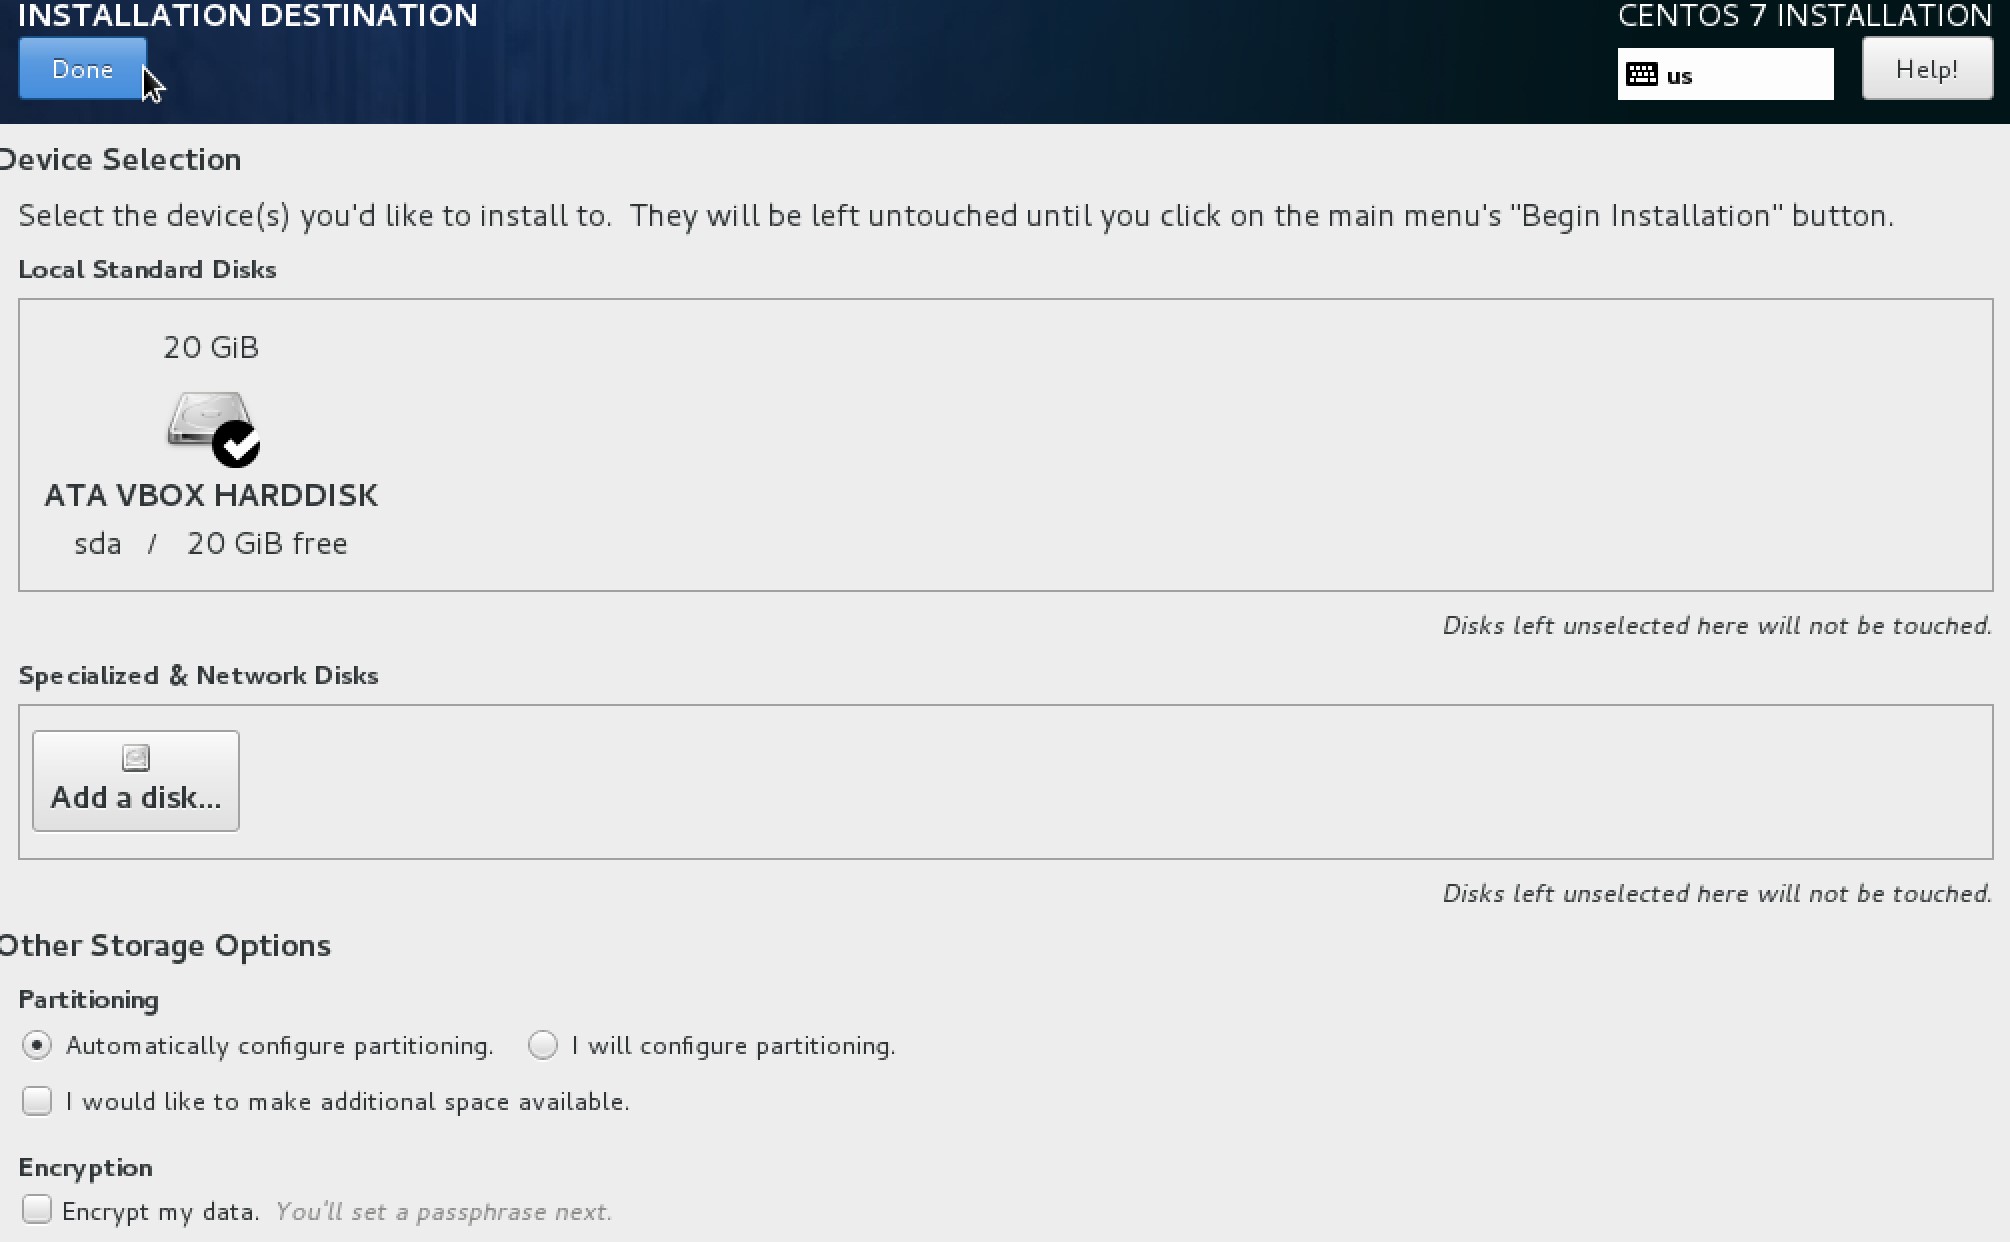
If we had wished to configure partitioning ourselves we would do it from this section by select I will configure partitioning radio button.
Starting Installation
Click Begin Installation

- During the installation we configure both a root password and a (non-administrator) user.
- Click on both options in order to do same
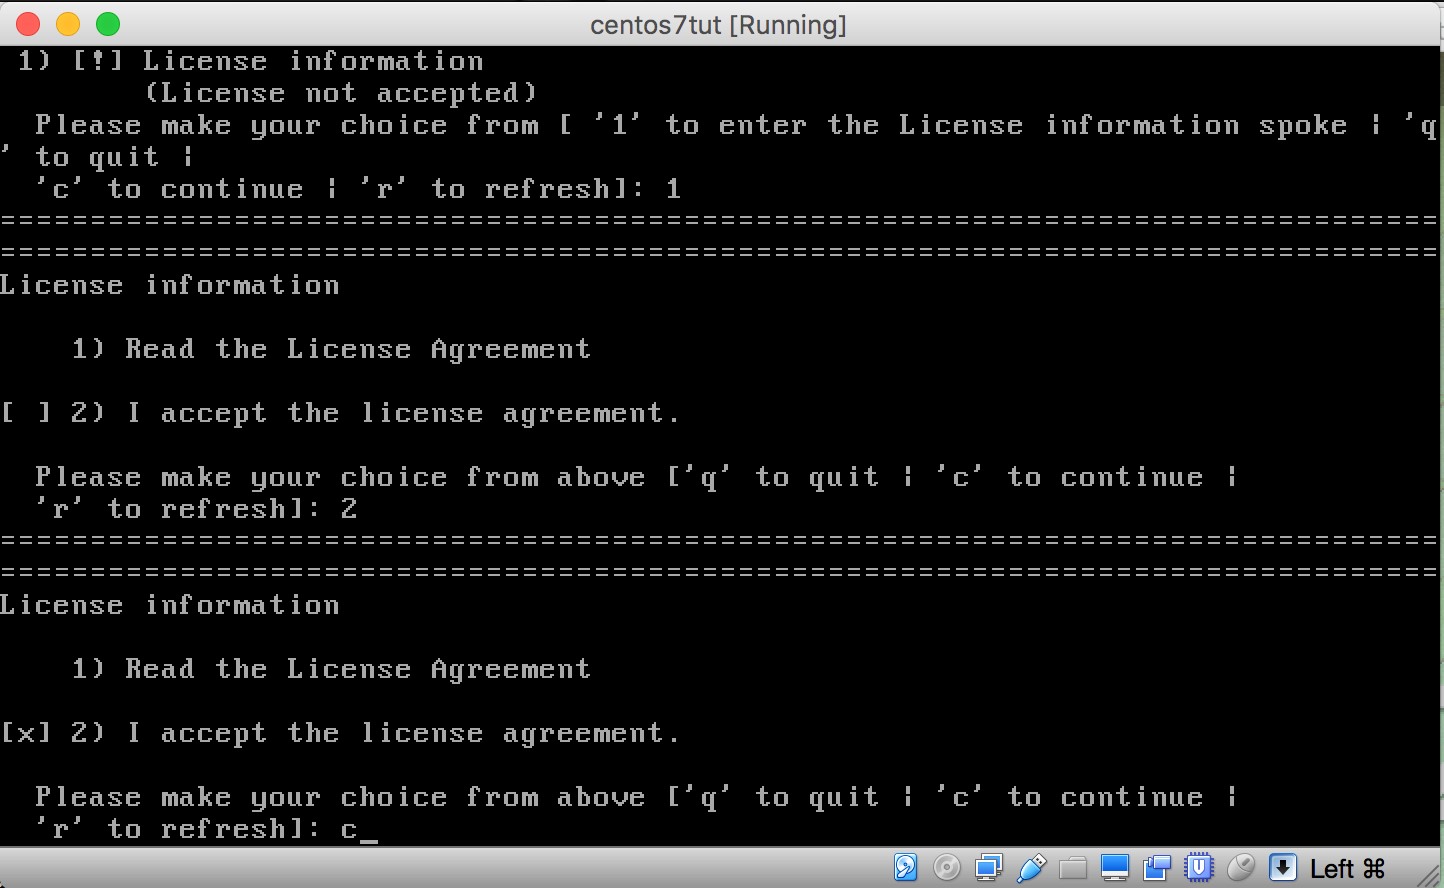
Post Installation
After the installation is completed you will be prompted to Reboot the system. Upon first boot you will be shown the License Agreement information which you must accept in order to proceed.
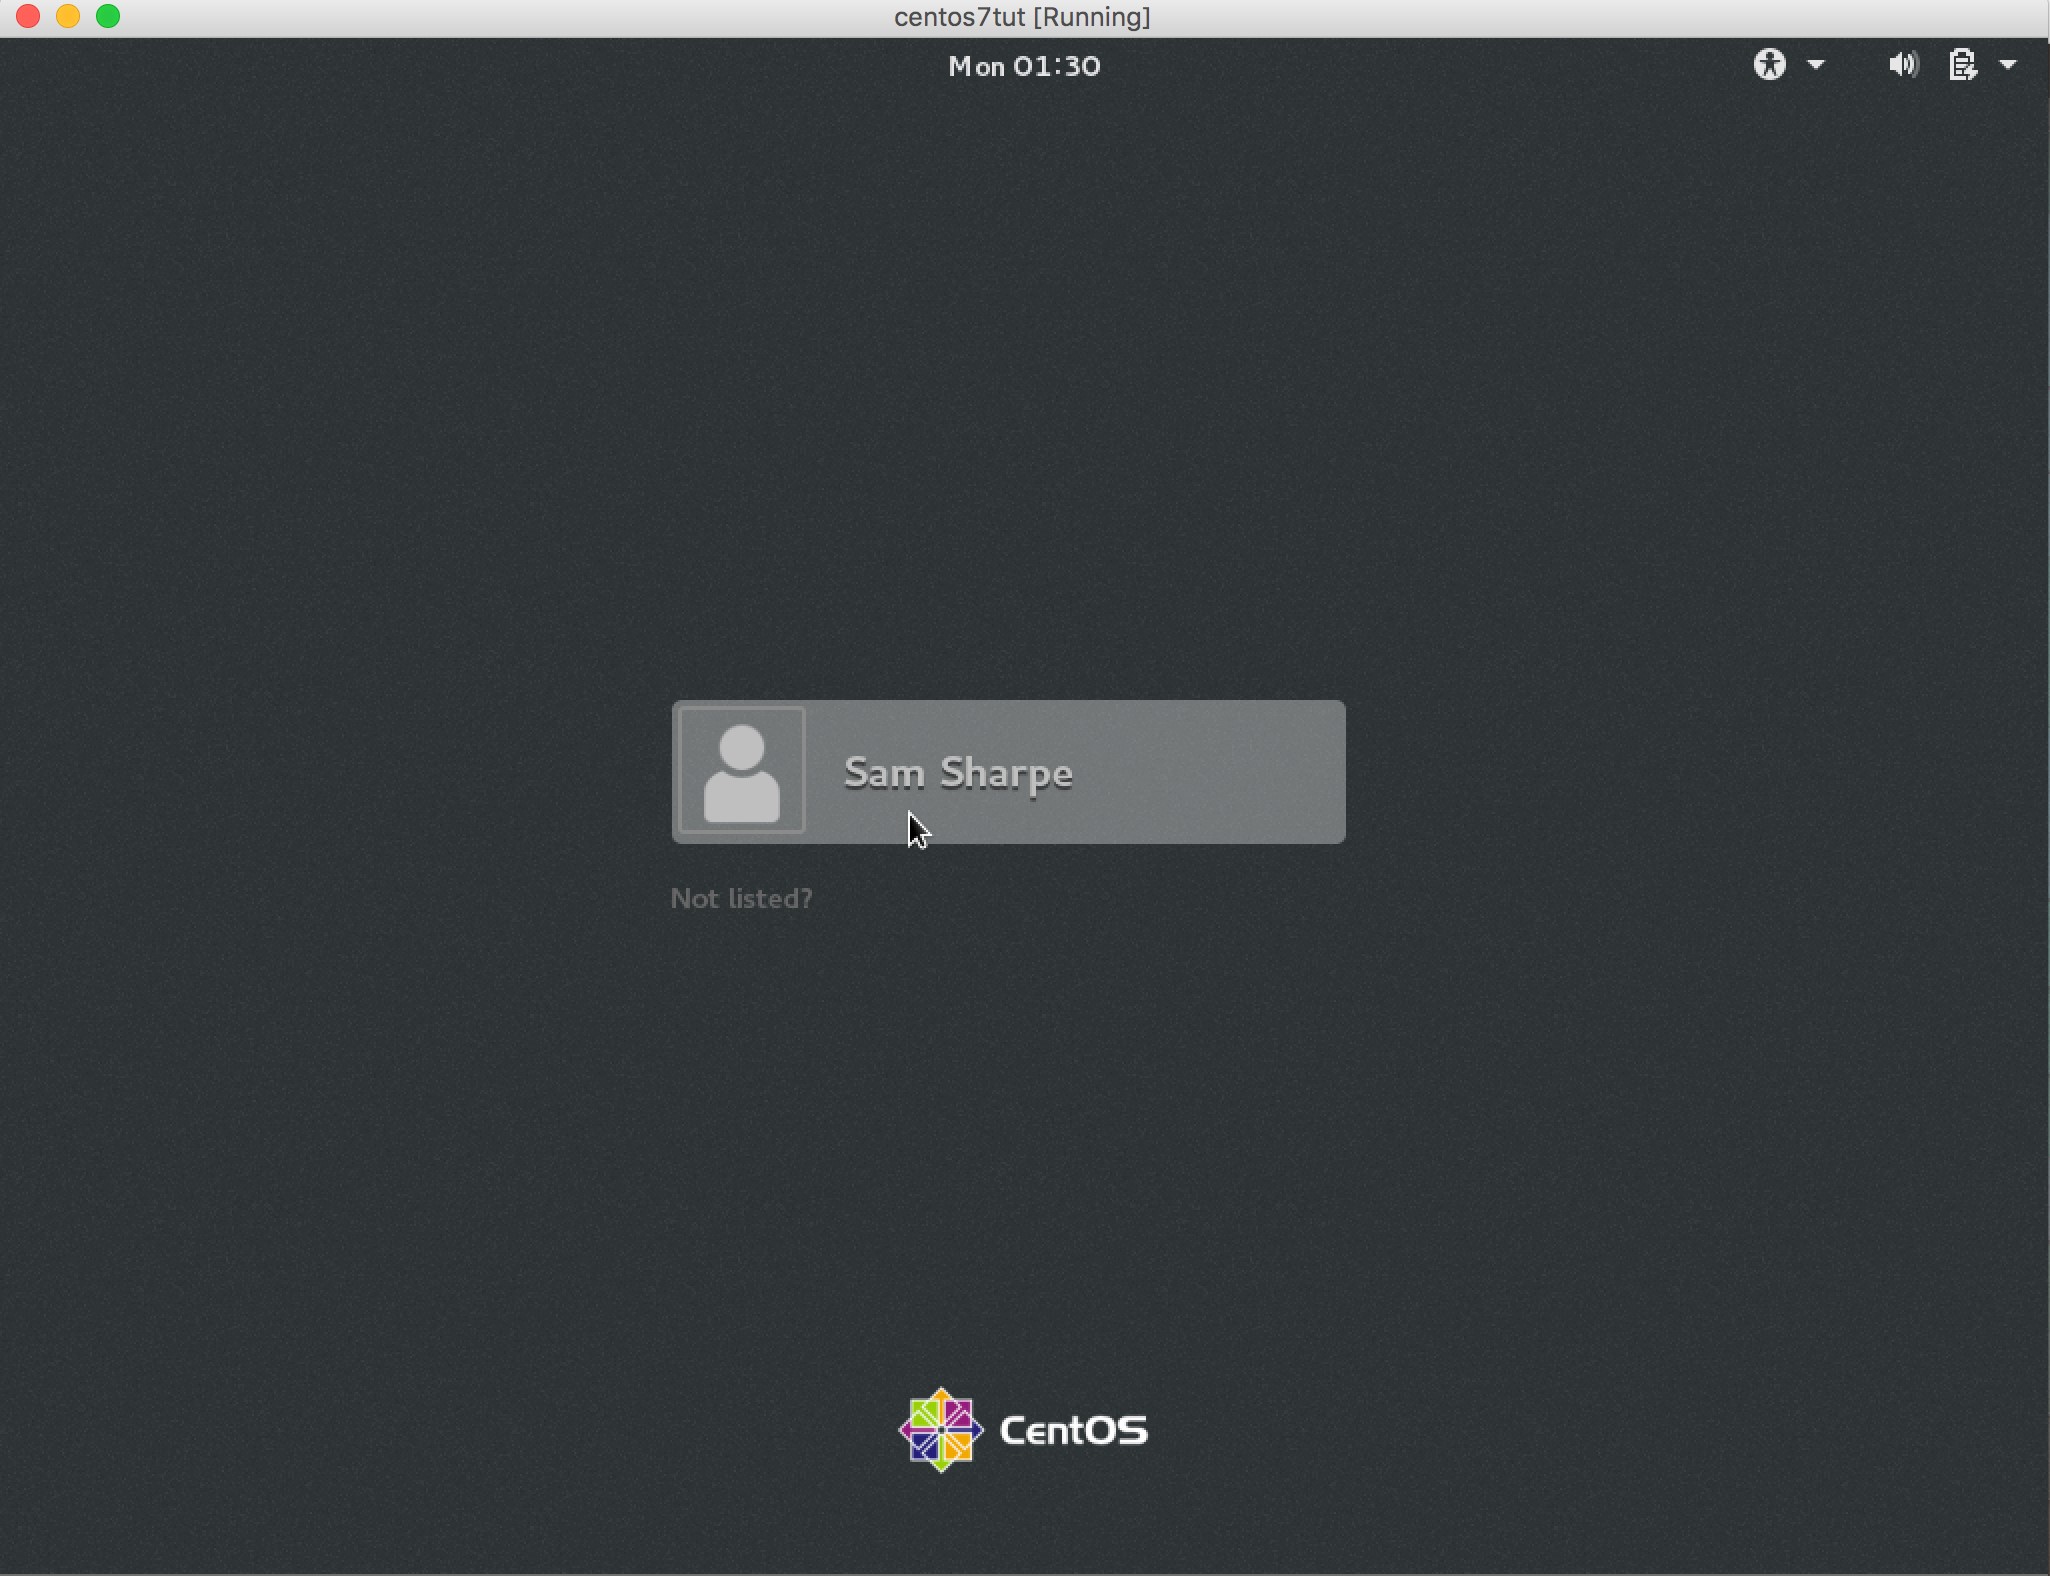
That's it. Your own personal CentOS 7 installation is now ready
 .
.
In following tutorials you will start learning how to use the new OS.
Written by Raemur Bedward.